Content Type Settings
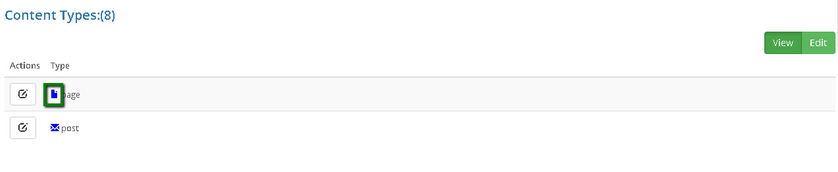
View Content Types List
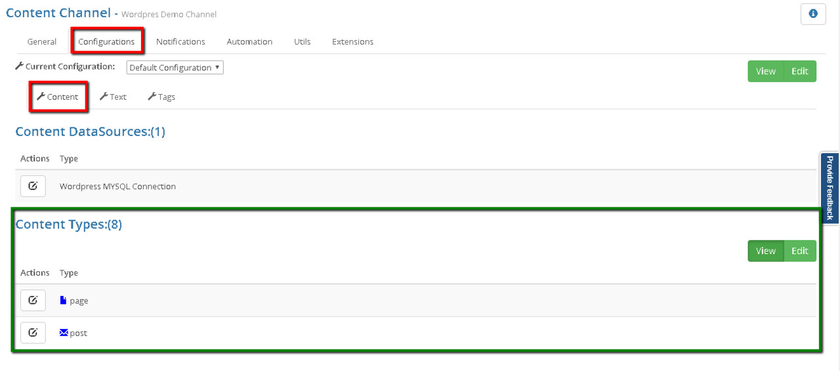
The list of content types your connector uses can be found in the 'Content' tab of your channel's settings: 'My Channels'>'Configurations'.
Rename a Content Type
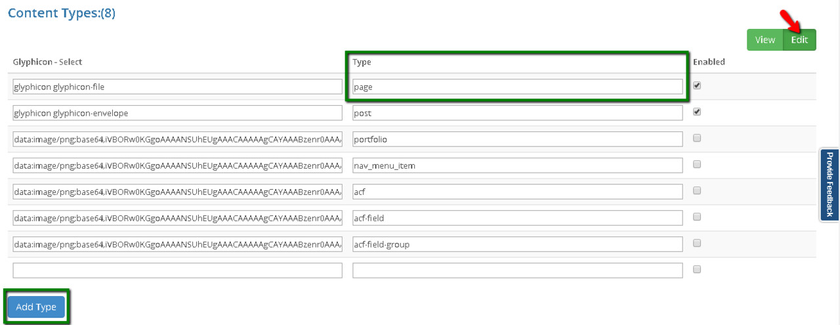
To rename a content type, you have to switch to the 'Edit' mode in the list of content types:
Once done:
- fill in the relevant type.
- click the 'Update' button.
This operation is available in both cases:
- when your connector works with a source which uses dynamic content types;
- when your connector works with a source relying on static content types.
Enable/Disable Content Type Usage
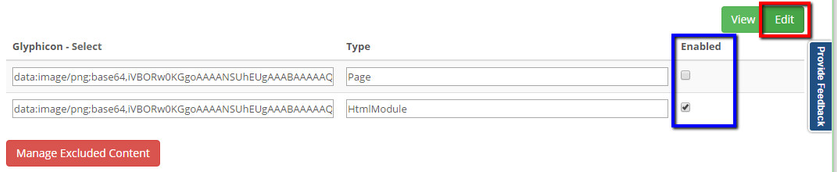
If you do not want your content channel to work with a specific content type:
- Open content types list.
- Switch to the 'Edit' mode (as described in the article above).
- Uncheck 'Enabled' box next to the relevant row.
This operation is available in both cases:
- when your connector works with a source which uses dynamic content types;
- when your connector works with a source relying on static content types.
Associate Content Type With an Icon
You can associate a content type with an icon which will then represent this type within your connector. To do this:
- Go to the content types list.
- Switch to the 'Edit' mode (as described above).
- Now, click the 'Glyphicon - Select' link.
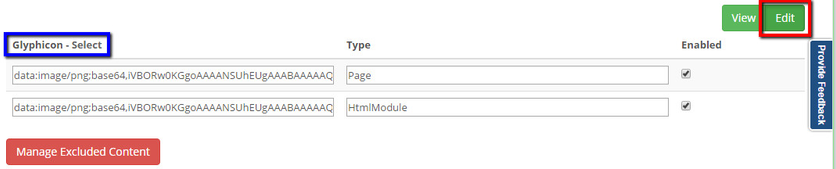
4. This one will lead you to the getbootstrap.com website. Here you will view to a list of glyph icons. You can pick your preferred glyph icon from here.
![]()
5. To start using an icon:
- Copy its name, for ex: 'glyphicon-file'.
- Paste it into the glyph icon field.
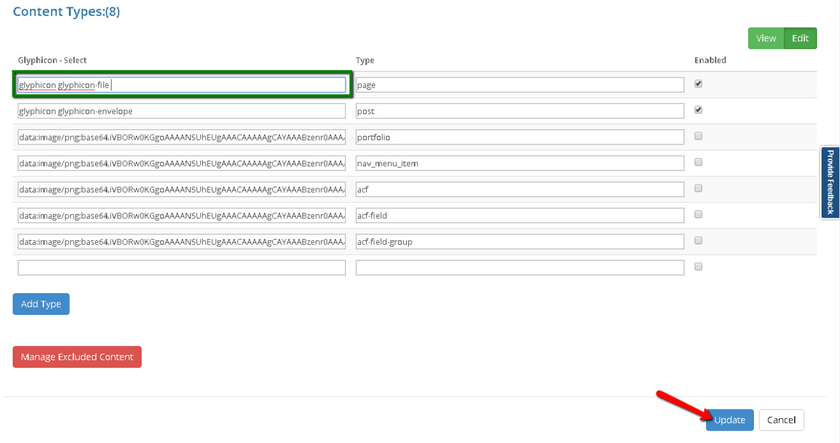
6. As soon as you do this and click 'Update' button, system will start using the icon for a content type.
This operation is available in both cases:
- when your connector works with a source which uses dynamic content types;
- when your connector works with a source relying on static content types.
Add a New Content Type
When your content channel works with a source which uses dynamic content types, you can define them in the list of content types. 'Add Type' operation allows you to add a new content type and configure its settings. To add a new content type:
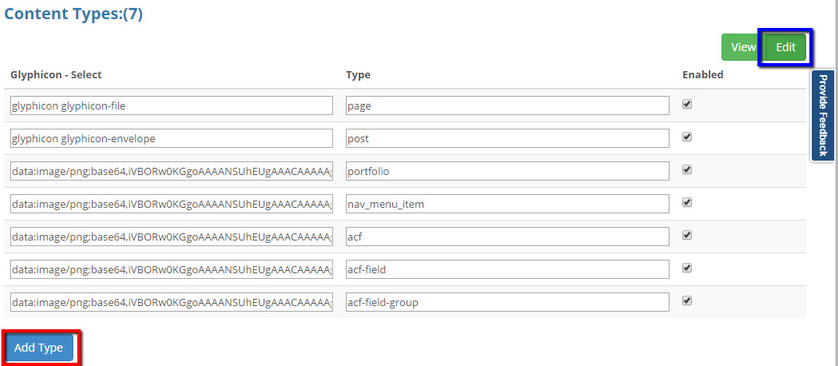
- Navigate to the content types list.
- Switch to the 'Edit' mode (as described above)
- Click the 'Add Type' button:
4. This will add a new empty row to the list, where you can specify a new content type.
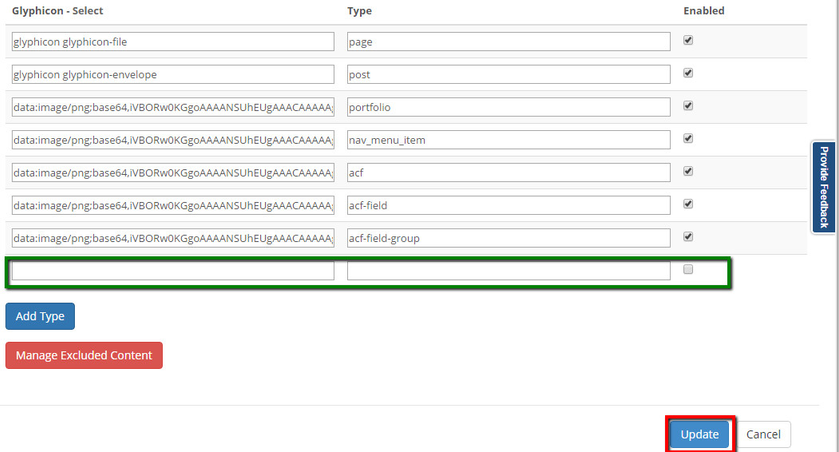
5. After you provide necessary info and click the "Update" button, a new content type will be saved in the list.
Note: The adding function is not available when a content channel works with a source relying on static content types.
Remove a Content Type
You can choose to remove a content type, when disabling it is not an option. To remove content type:
- Navigate to a content types list.
- Switch to the 'Edit' mode (as described above).
- Remove all the values and uncheck the "Enabled" check-box next to the relevant string.
- Click 'Update'.
- Now, the content type will be removed.
Note: The removing function is not available when a content channel works with a source relying on static content types.