In order to enable the Memsource V2 plugin for your content channel, first, you need to go to the channel settings and .
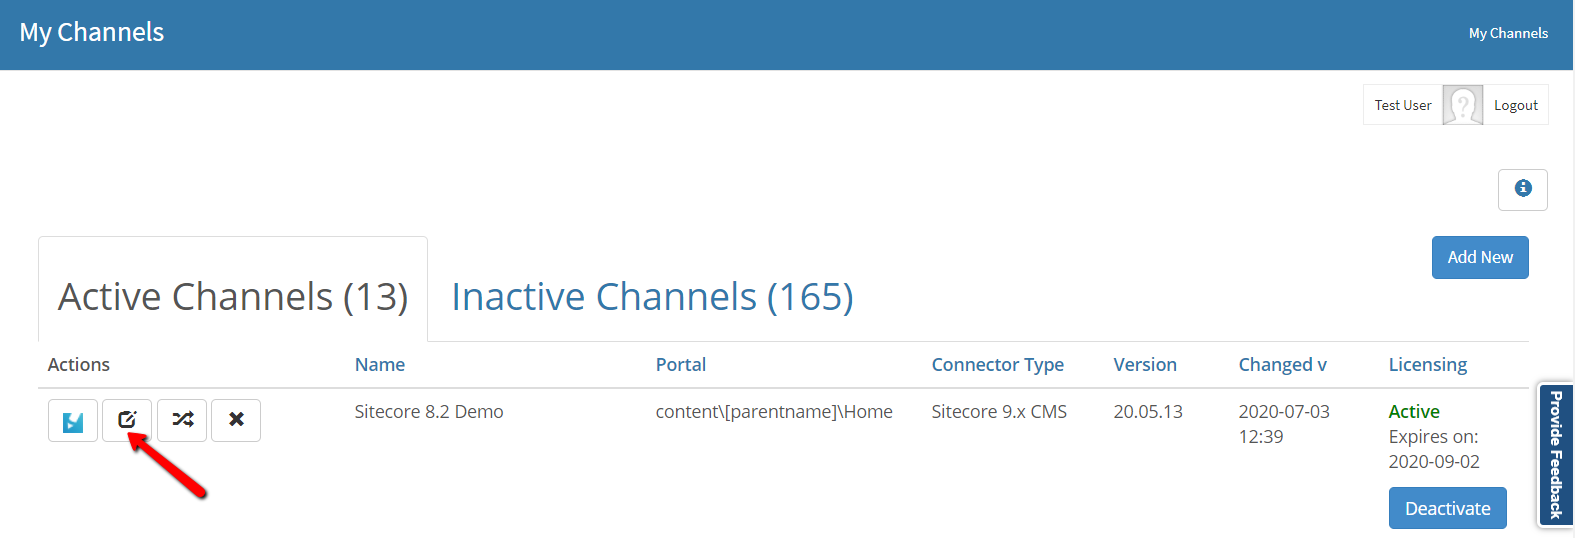
Then open the 'Extensions' tab:.
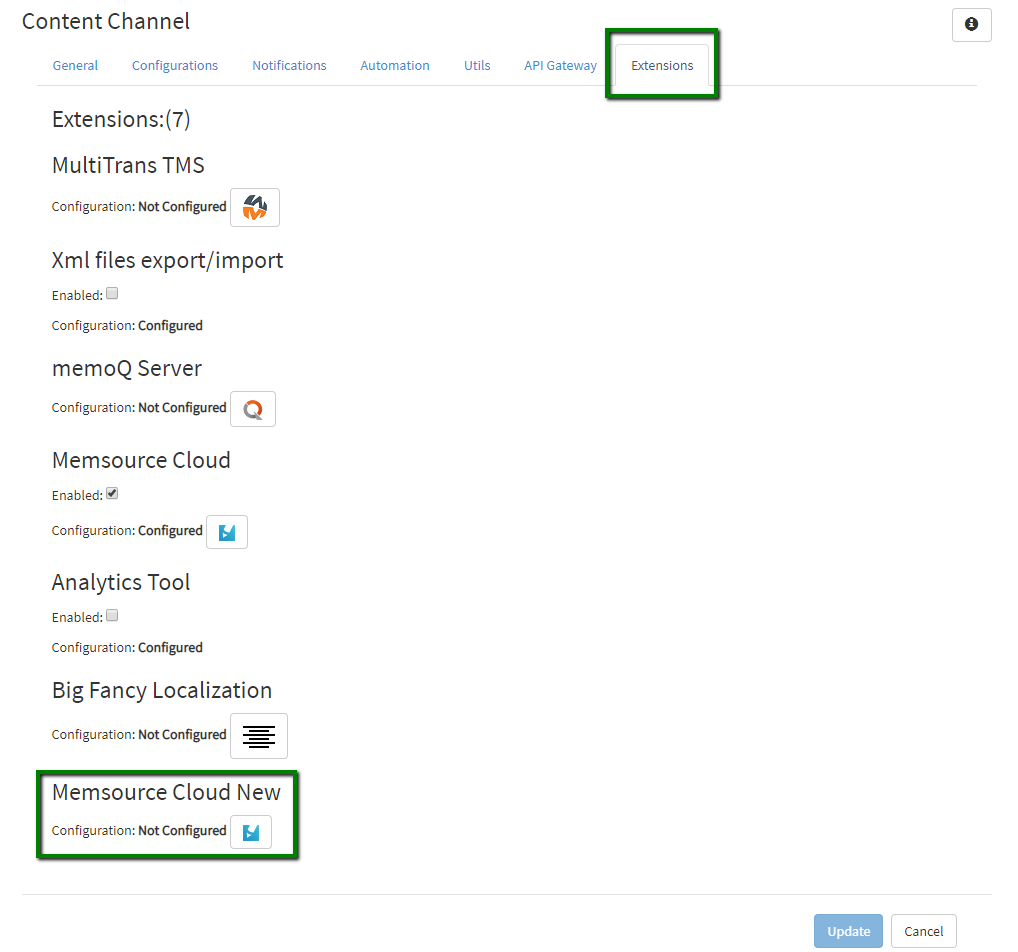
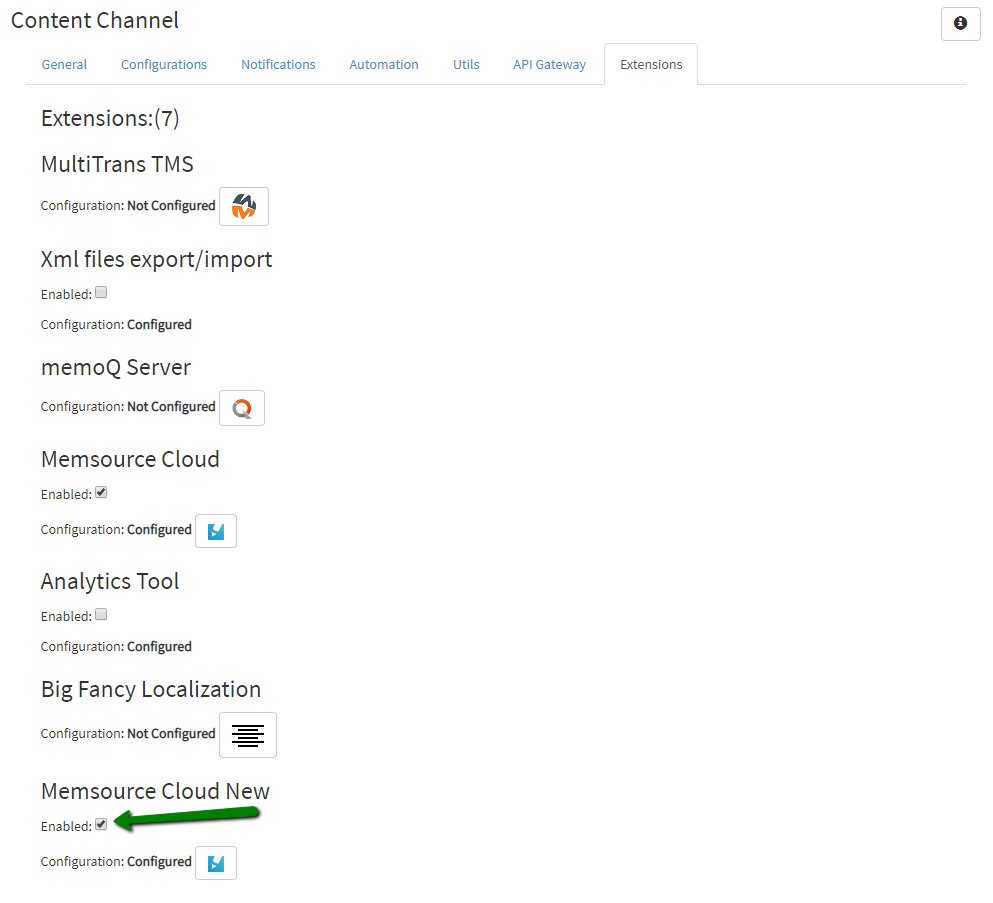
Here you will be able to set up your Memsource V2 plugin via the attributes of 'Memsource Integration' group:
- 'Enabled' - allows you to enable/disable the Memsource integration plugin. By default, the option is hidden and becomes available once the plugin is configured. Don't forget to check the box once you finish the plugin setup.
- 'Configuration' - indicates whether your Memsource V2 plugin is configured or not. Configuration status has the 'Memsource Integration Configuration' icon next to it.
To edit or set up your Memsource V2 plugin from scratch, click the 'Memsource Integration Configuration' icon.
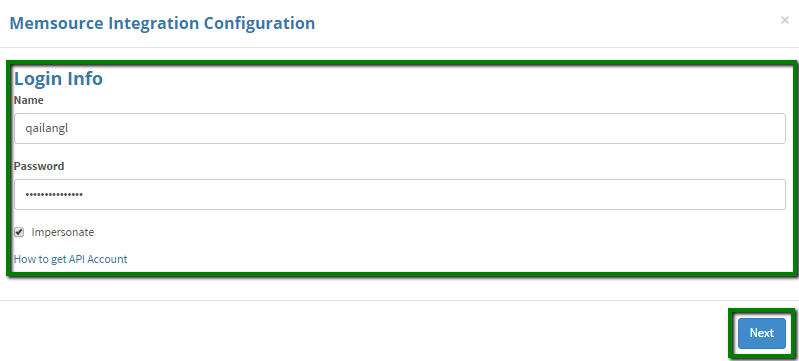
Please fill in the following information in the 'Memsource Integration Configuration' form:
- Name - name of the Memsource account that will be used.
- Password - Memsource account password.
- Impersonate - if enabled, this setting allows you to skip the login step and go from your connector directly to the Memsource account.
Apart from that, the form also contains a link to the Memsource website, where you'll be able to find more information on acquiring a Memsource account. As soon as you provide the 'Login Info', click 'Next' to navigate to the next page::
| Anchor | ||||
|---|---|---|---|---|
|
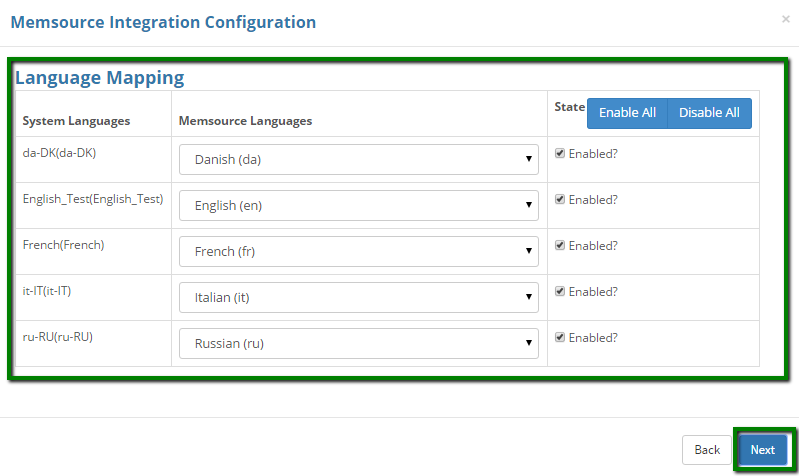
This step is dedicated to language mapping setup. The 'System Languages' column represents the languages available in your content source (e.g. website, FTP server, etc.), while the 'Memsource Languages' column - those supported by Memsource. Map your system languages with the Memsource equivalents indicating the state (enabled/disabled). 'Enable All' and 'Disable All' shortcuts will allow you to do the bulk operation if required. At this stage, you are able to take a step back in order to change the 'Login Info'. This can be done via the 'Back' button. When everything is mapped, click 'Next'.
Next form is complex and contains several setting options:
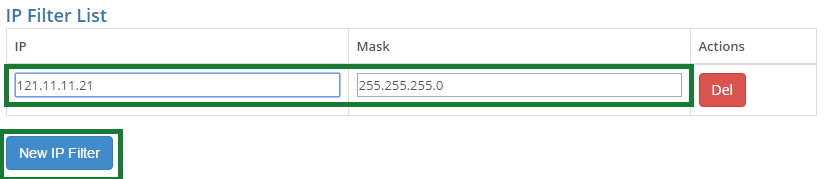
- The first option is the IP Filter List. It allows you to limit access to your projects to user/-s with particular IP address. By default, it is disabled. In order to enable it, click 'New IP Filter' button and enter the IP address and mask host. Access will be provided for the selected pool of addresses only.
If an unauthorized user tries to open a project page, they will see the following message: 'Your IP address 'x.x.x.x' is not allowed'.
If the filter was not created, all users with a direct link to the project page will have access to it.
Anchor settemplate settemplate
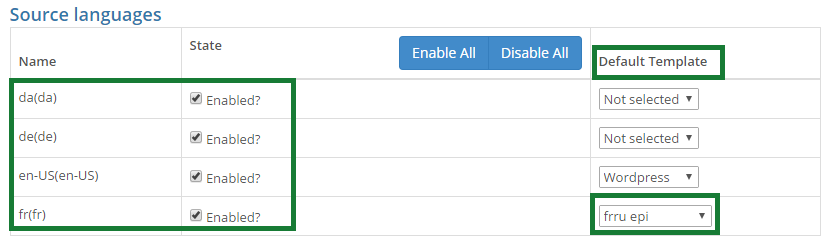
- The second option is 'Source languages'. Please enable/disable the languages you want to use as a source in your projects. You can also set up a default template for each source language. This template will be applied by default to all the projects with the appropriate source language.
- The third option is about setting up the list of enabled workflow steps.
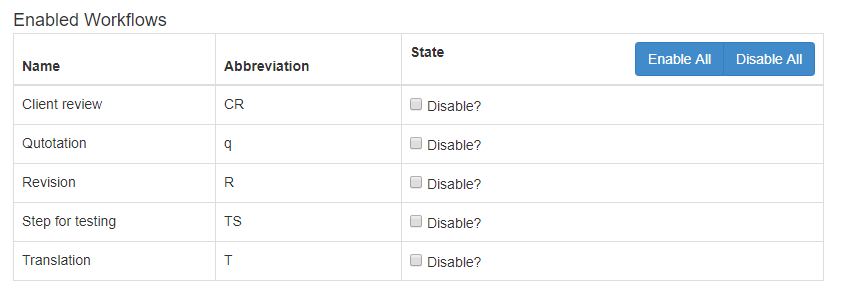
It allows you to enable access to workflow steps from the Memsource V2 plugin. The fourth option is ‘Default workflow step’.
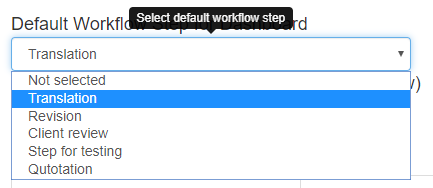
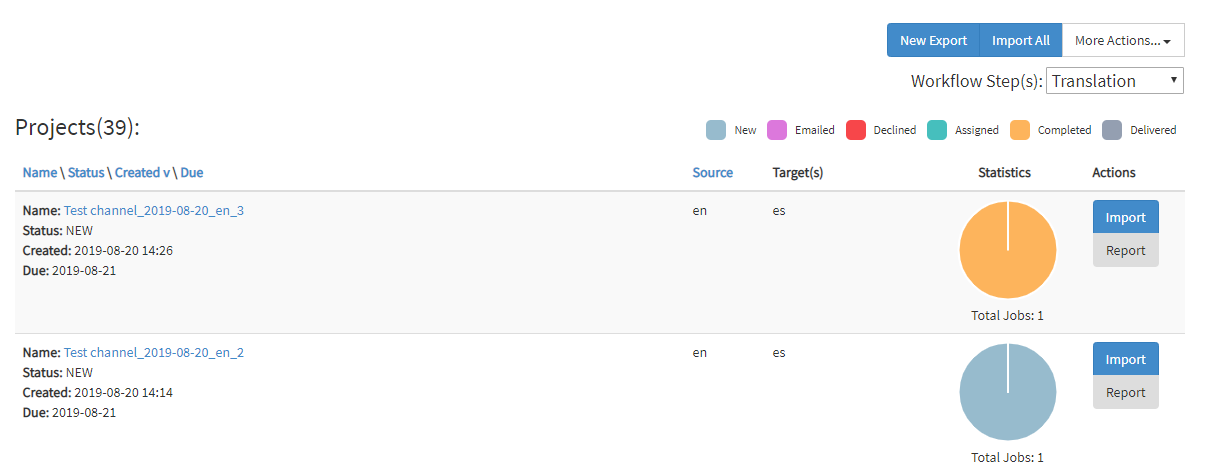
When you work with a project page, you will be able to filter your projects by workflow steps. 'Default Workflow Step for Dashboard' option allows you to set a step that will be displayed first (as default).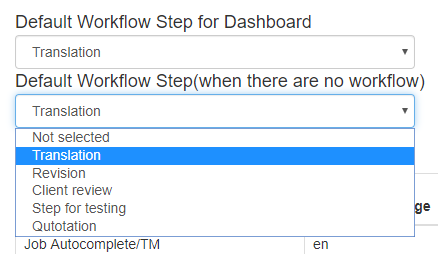
In order to select a step that will be displayed first in case there is no selected workflow, please use the 'Default Workflow Step(when there are no workflow)' option.Note All projects where workflow steps stepsе that are not specified , will be displayed at the first step in Memsource.
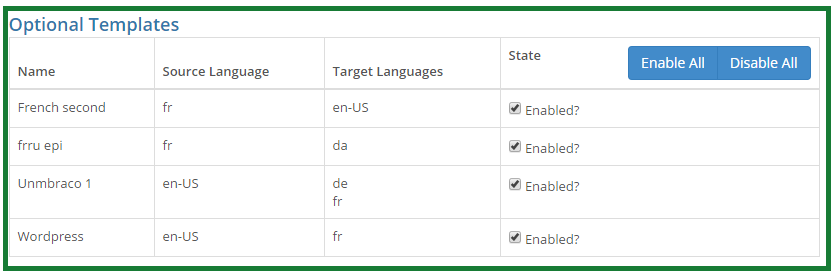
The fifth option is 'Optional templates'. Here you can select which Memsource templates will be available in addition to the default templates that you specified in the previous step. When creating a new project, you will see all the templates for the current source language.Anchor template template
- The following options allows allow to specify rules for convert and encode HTML tags and entitties entities on import and export:
- "Convert to Memsource tags" allows you to specify regexp which will convert certain sub-strings into the inline tags
- "Convert HTML entities to Memsource tags" allows to specify a comma-separated list of HTML character entities that will be converted to Memsource tags (for example, ,©). If empty, no entity will be converted to a Memsource tag. If * is entered, all character entities will be converted to Memsource tags.
- "Encode HTML tags" allows to specify specifying a list of inline HTML tags which will be encoded during import from Memsource. By default this value is empty.
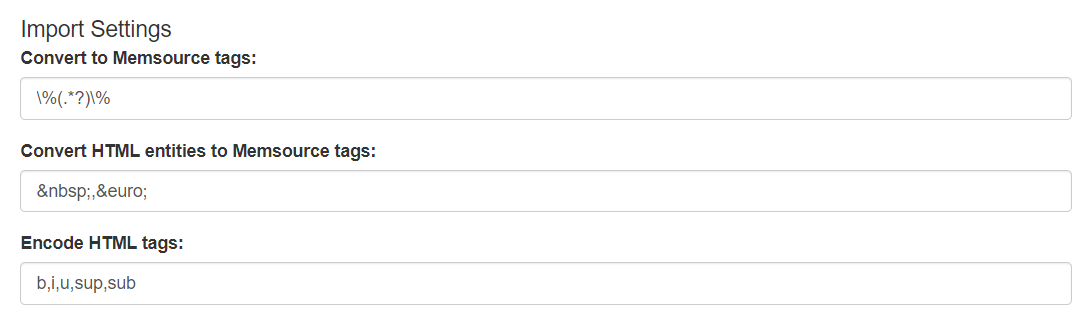
This These parameters can be found in Memsource "File Import Settings" on XML tab.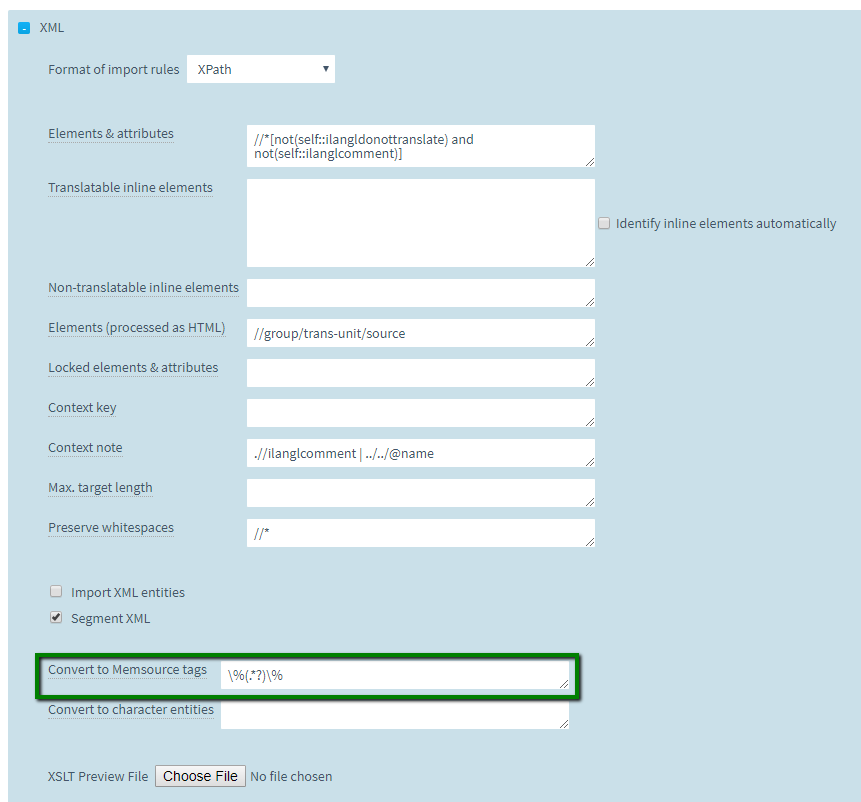
- Preview Settings allows to configure configuring iLangL Translation Proxy Preview . The only option here is the url URL for the preview server.

If everything is set, click "Next" and proceed to the last step of setup: confirmation.
The 'Confirmation' step sums up all the information you provided and allows you to get a final overview before integration is set. If anything requires correction, you can go back via the 'Back' button. If information is correct, click 'Submit' to save 'Memsource Integration Configuration'.
Here you can also apply CSS styles to customize your Memsource V2 plugin view with your design.
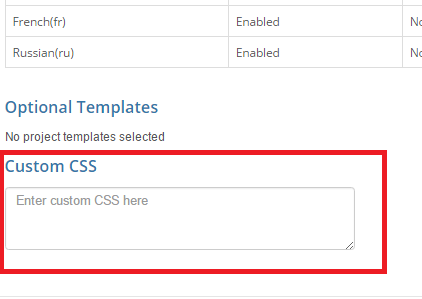
For example:
Standard View
Customized View
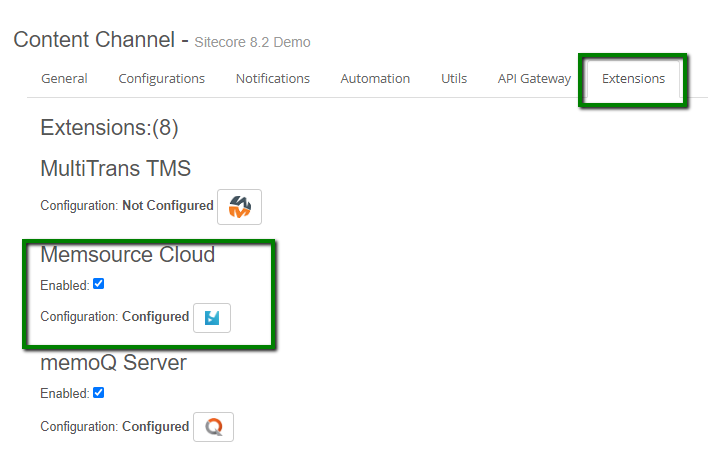
Once you submit the form, you will be returned to the 'Extensions' tab:
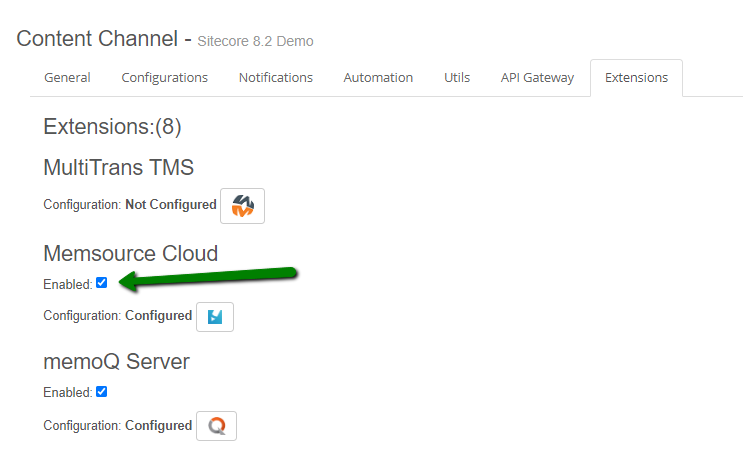
Since the 'Enabled' box is not checked by default, please remember to check it to enable Memsource integration. If Memsource V2 plugin has been set up, enabled and a content channel is active, you will be able to open it via the following 'Memsource' icon next to your channel:
![]()
| Anchor | ||||
|---|---|---|---|---|
|
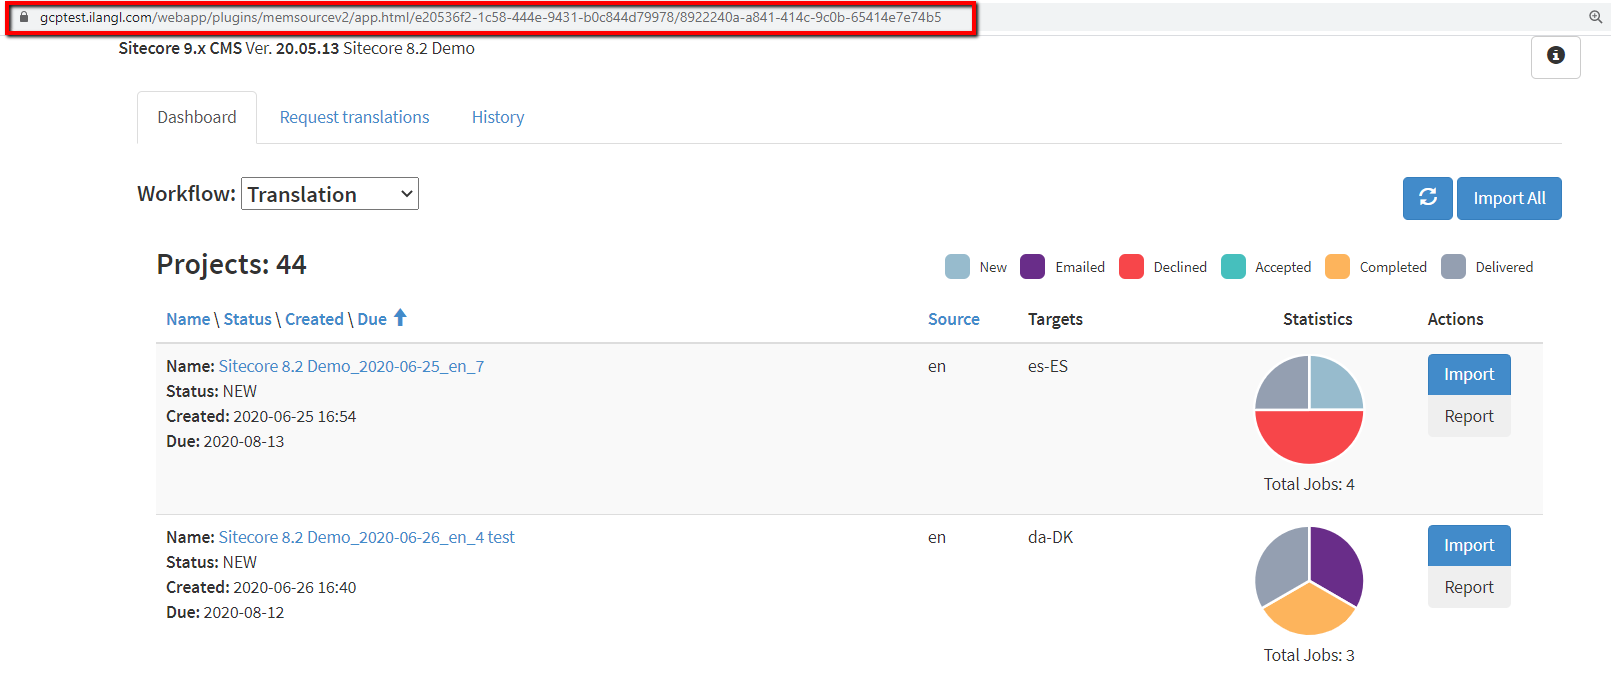
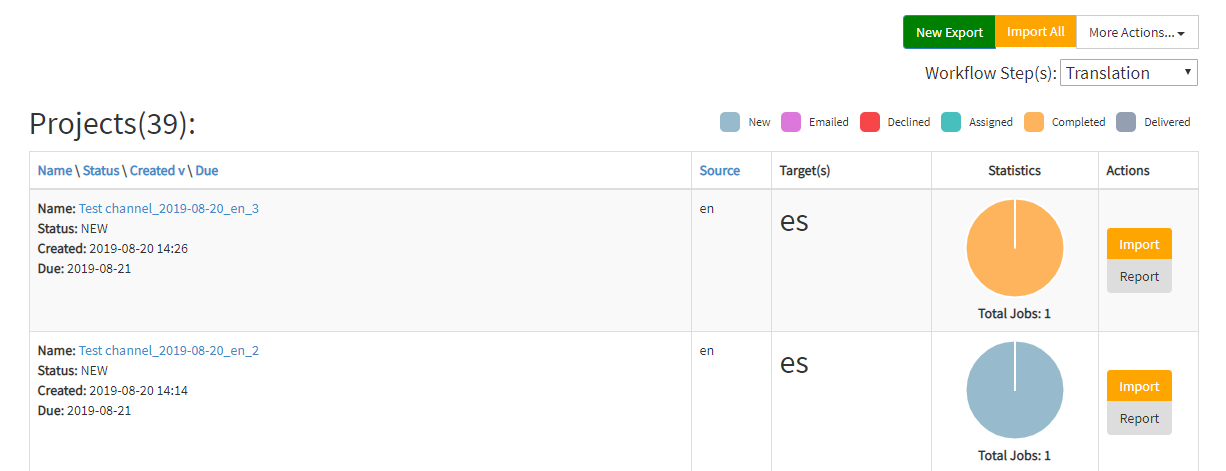
Once Memsource V2 plugin is enabled, you will gain access to your projects projects page where you can manage the projects and content export/import.
You can use a unique URL to access this page directly..