...
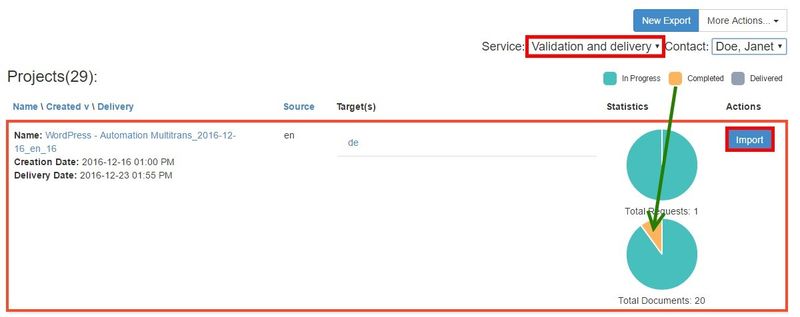
So, to start importing the completed content you click the "Import" button against the relevant project.
It is also important to remember that a content, which will be imported back to a website, is taken from a specific service. In the example above we are going to import a content, which has completed the "Validation and delivery" step.
So as you click the "Import" button, the following form will appear:
On this form you will be able to overview all the content that is about to be imported. The content will be grouped by target languages. In this example we are going to import two documents from one project. Here you should to select importing content via corresponding check-boxes. "Add All" and "Clear All" buttons do the same function as a check-box does, but for the whole group. So as soon as you've decided what has to be imported, you can either "Import" or "Import and Publish" (if this option enabled in channel settings) the content back to your website. After that, import process starts and when it is finished, the following import report appears
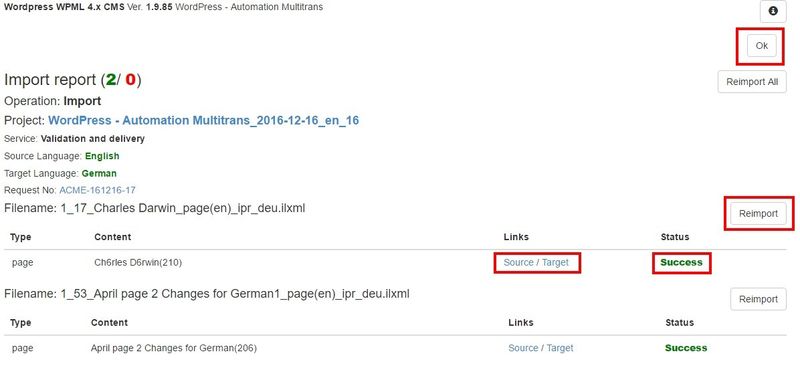
This report shows result of the import process and gives you the ability to run the "Re-import" where needed or re-import all content at once.
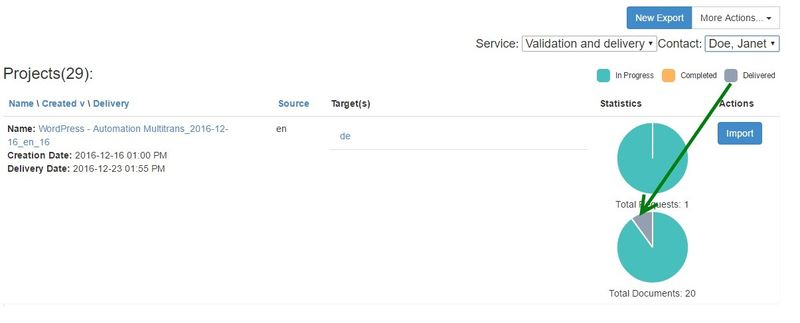
However if everything looks good, you click the "Ok" button and that is it. Now you can see that the content we've imported is now "Delivered".


