Once the content you have exported to memoQ sent for translation memoQ Server is translated, the next step would be importing it back to the CMS. Below, you will find a detailed description of the process.
Please note that content import is available only if a job is in at the completed stage (all segments must be approved and the file status must be 'FinishedCompleted'). If you try to import content from the ongoing project, you will get a notification that there is nothing to import.
.
| Note |
|---|
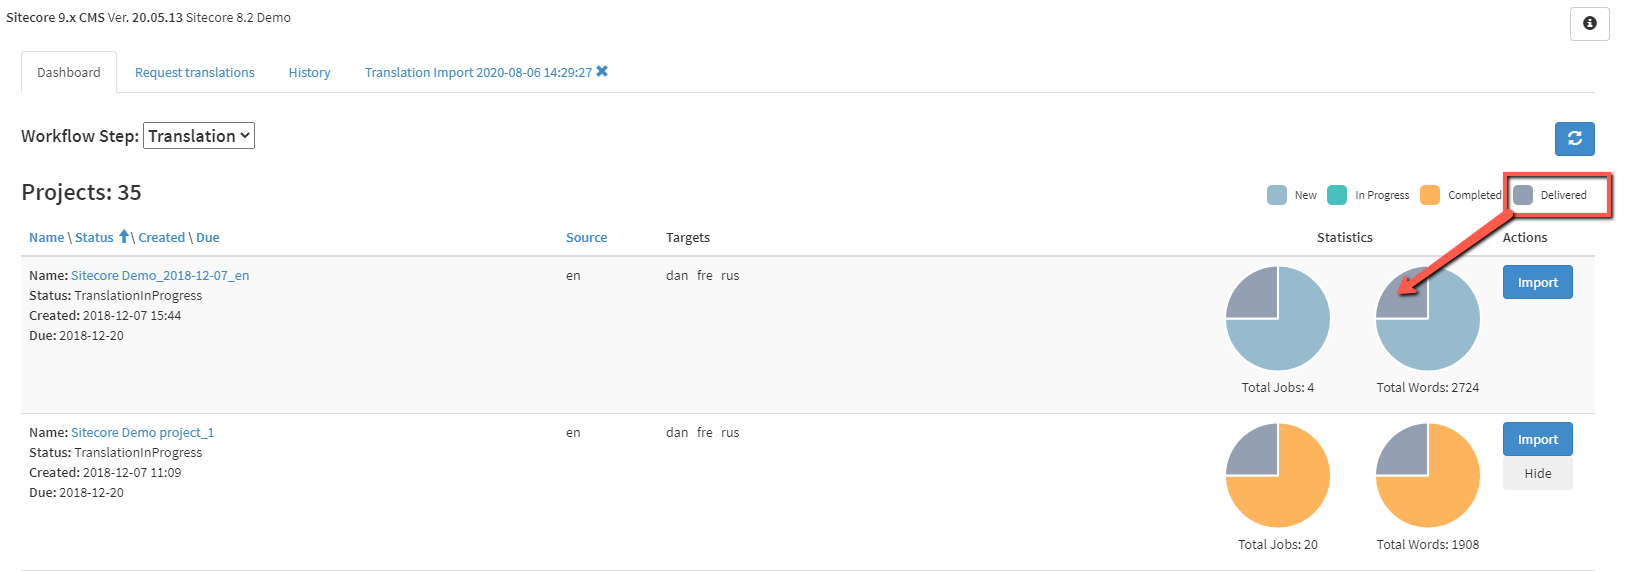
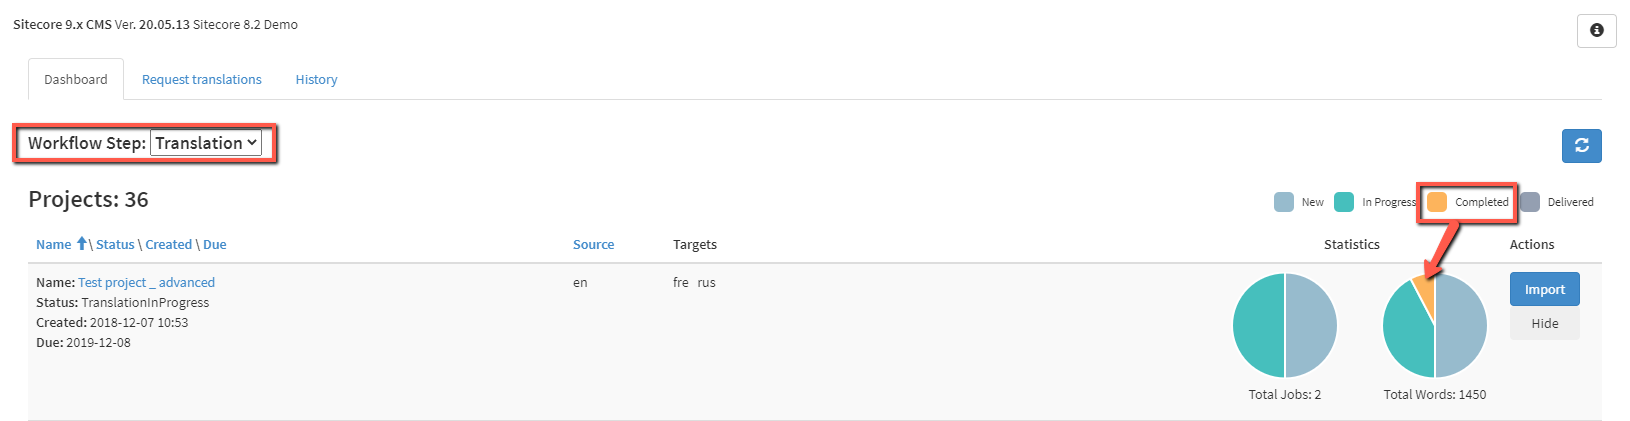
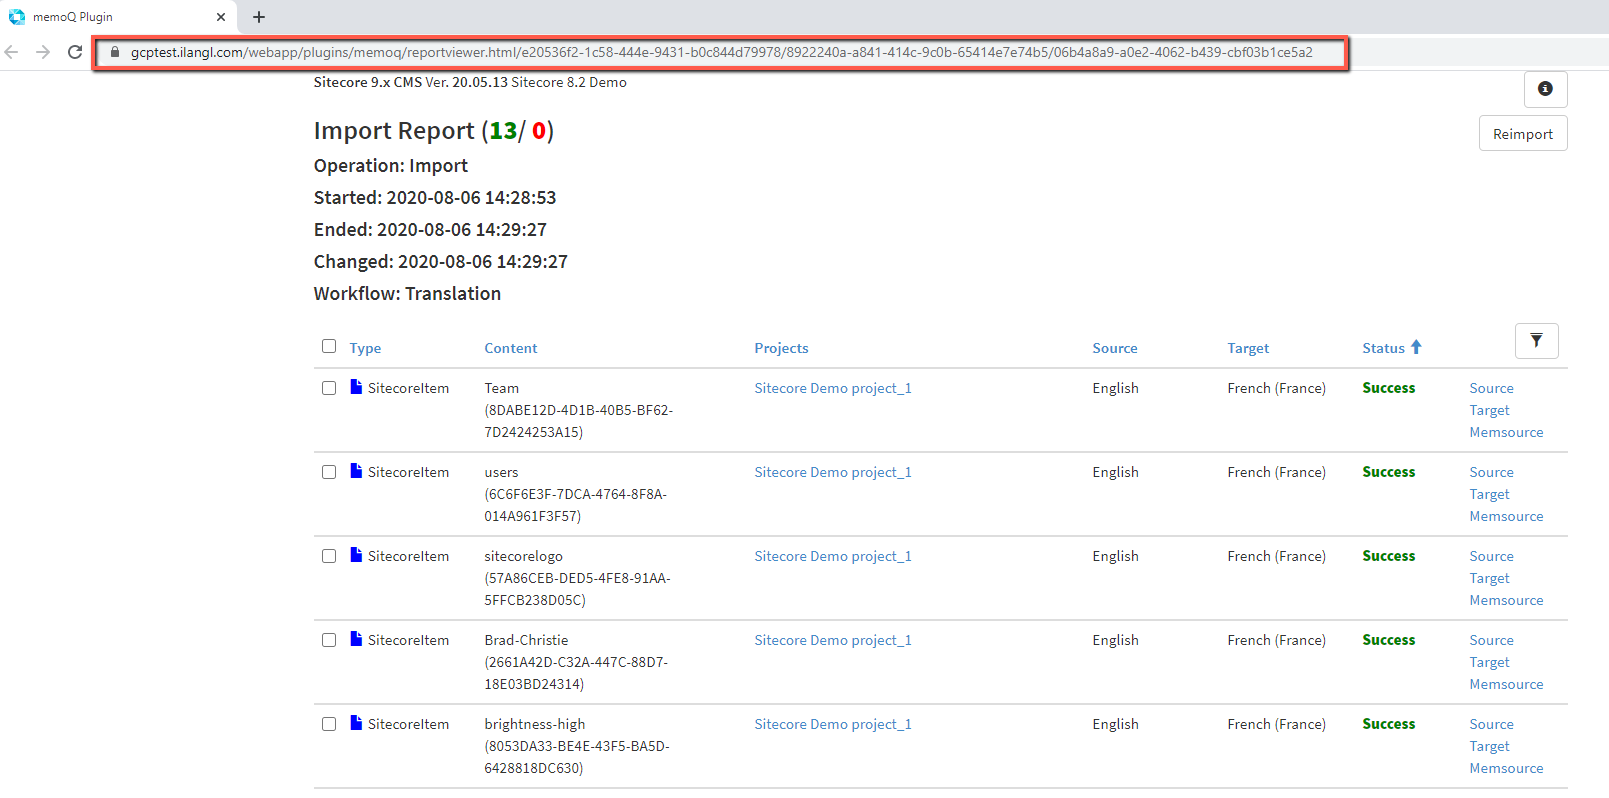
It is also important to remember that content, which will be imported back to a website, is taken from a specific workflow step. In the example below, you can see that the content will be imported from the 'Translation' step. |
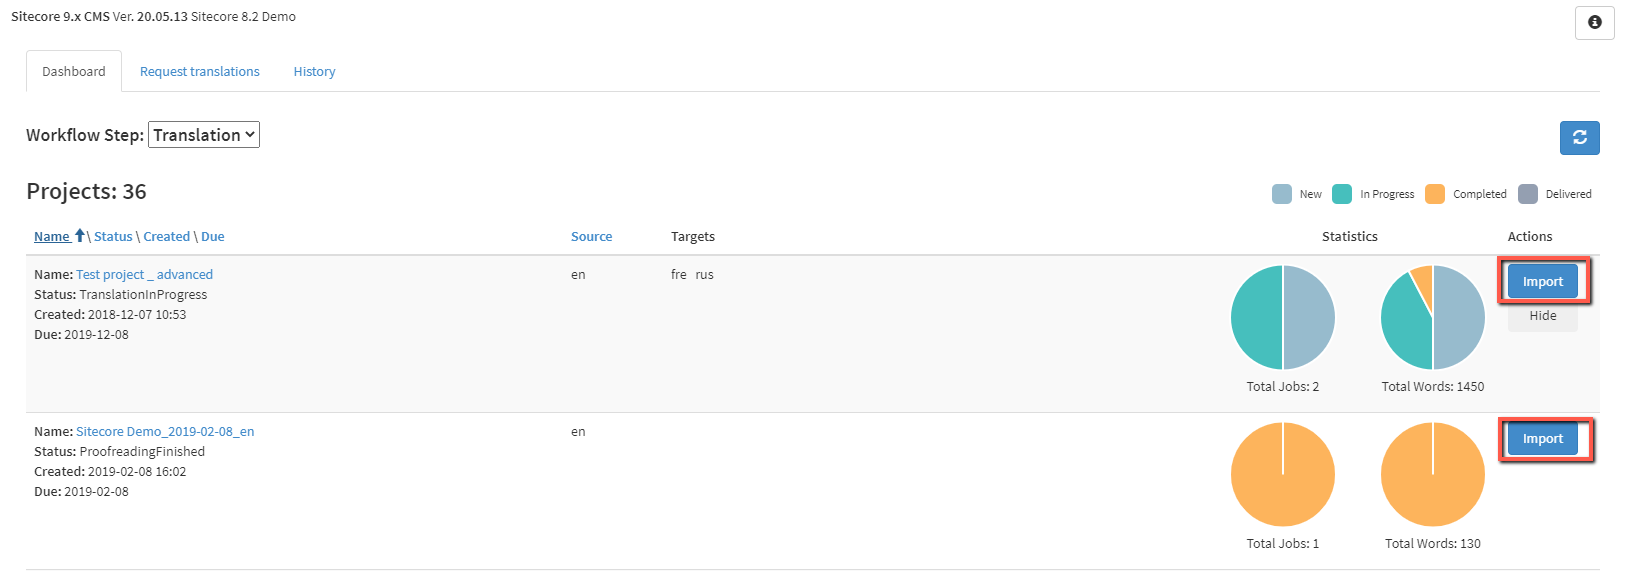
1. To start the content import, click the 'Import' button next to the relevant project.
2. Once you click the 'Import' button, the following form will appear: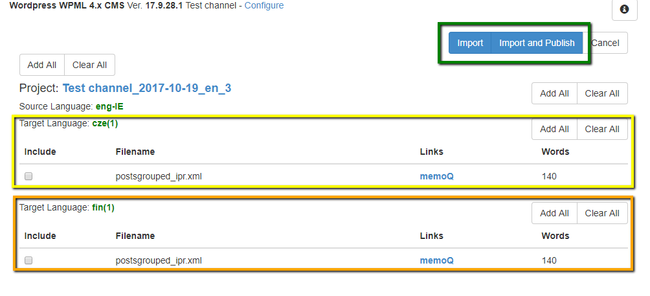
Here you will be able to overview all the content that is about to be imported. The content will be grouped by source/target languages.
In the following example, we are going to import content from 2 documents of the same project. Here you can skip content from the specific documents using corresponding check-boxes. 'Add All' and 'Clear All' buttons perform the same role as a check-box does but for the whole target language group or project.
So as soon as you decide what has to be imported, you can either 'Import' tab will appear. By using the filter, you can choose what content you need to import. You can filter by target languages and filenames. You can also sort the content by filenames and target languages (will be displayed in the alphabetical order) or word count.
| Info |
|---|
If you need to clear the filter, just click on the filter icon one more time. |
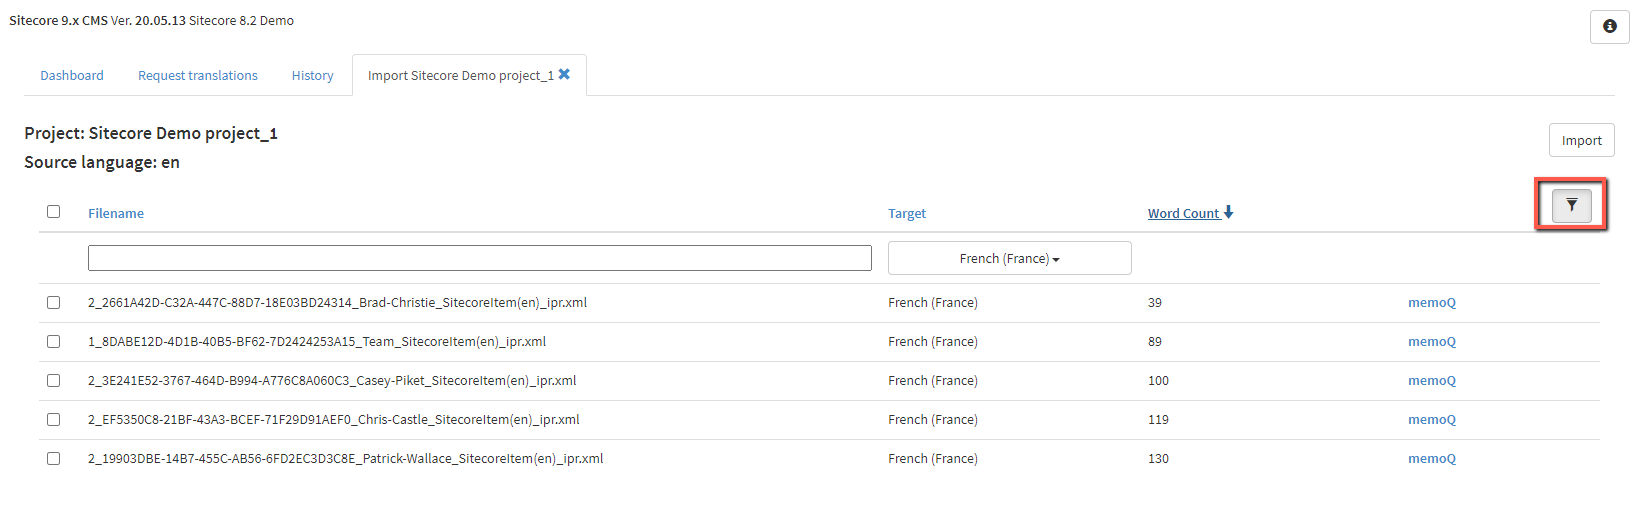
After you choose the content for import, press the 'Import' button.
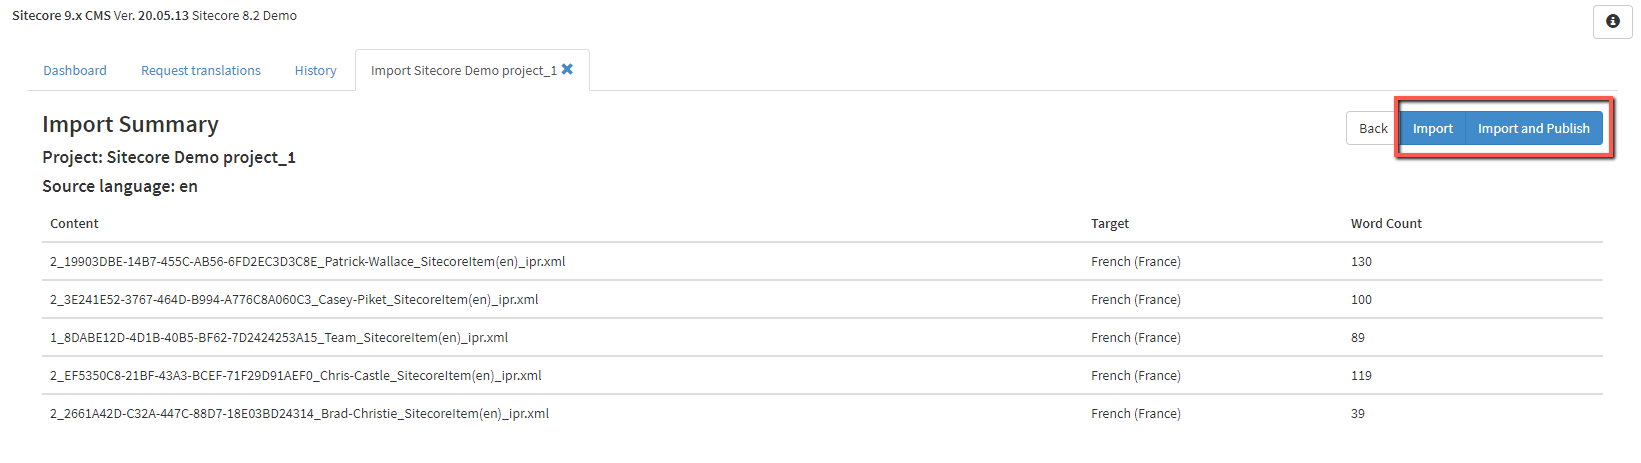
3. Now, you need to review which content is chosen for import. If you find a mistake, you can return to the previous step by clicking the 'Back' button and make changes. If everything looks fine, you should press 'Import' or 'Import and Publish' (if this option is enabled in the channel settings)
...
.
| Warning |
|---|
The import process can't be canceled, it will be completed even if you close the tab. So please double-check the 'Import Summary'. |
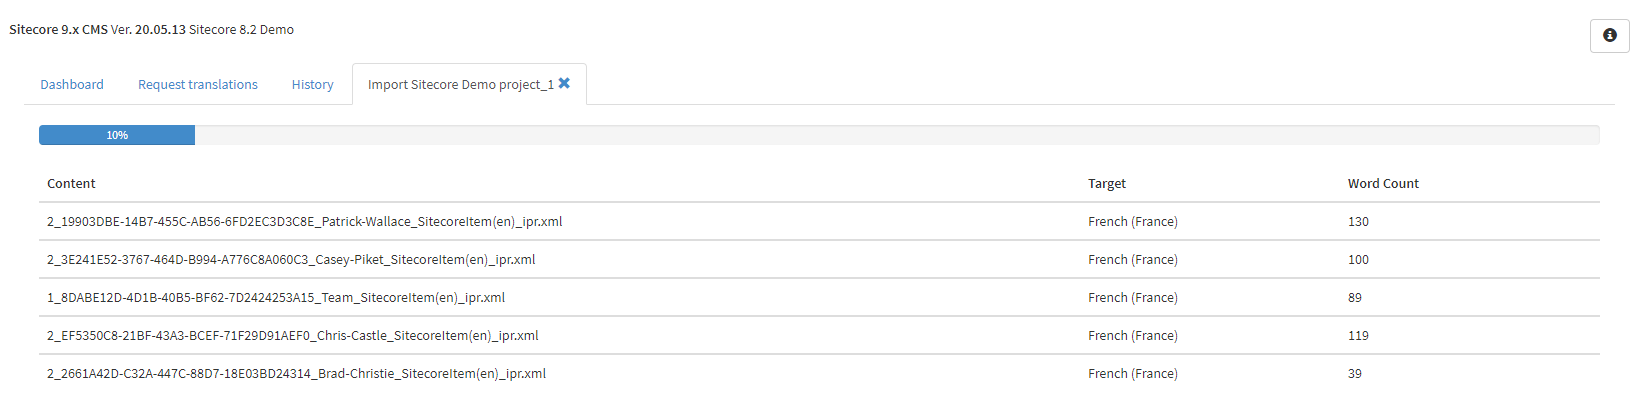
After you click, the 'Import' or 'Import and Publish' button, you will see the progress bar indicating the status of the current import
...
.
...
| Warning |
|---|
Please note that import may take time depending on the content size. |
...
4. When the import process is finishedover, the following import report appears: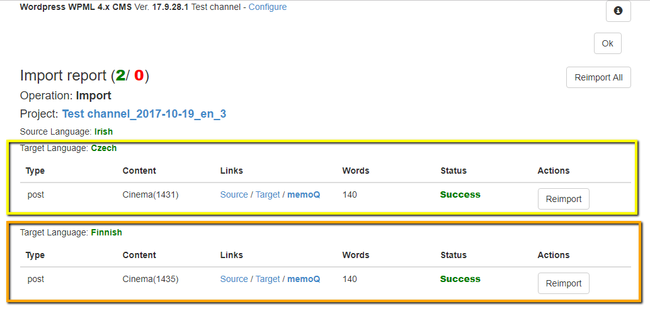
Anchor
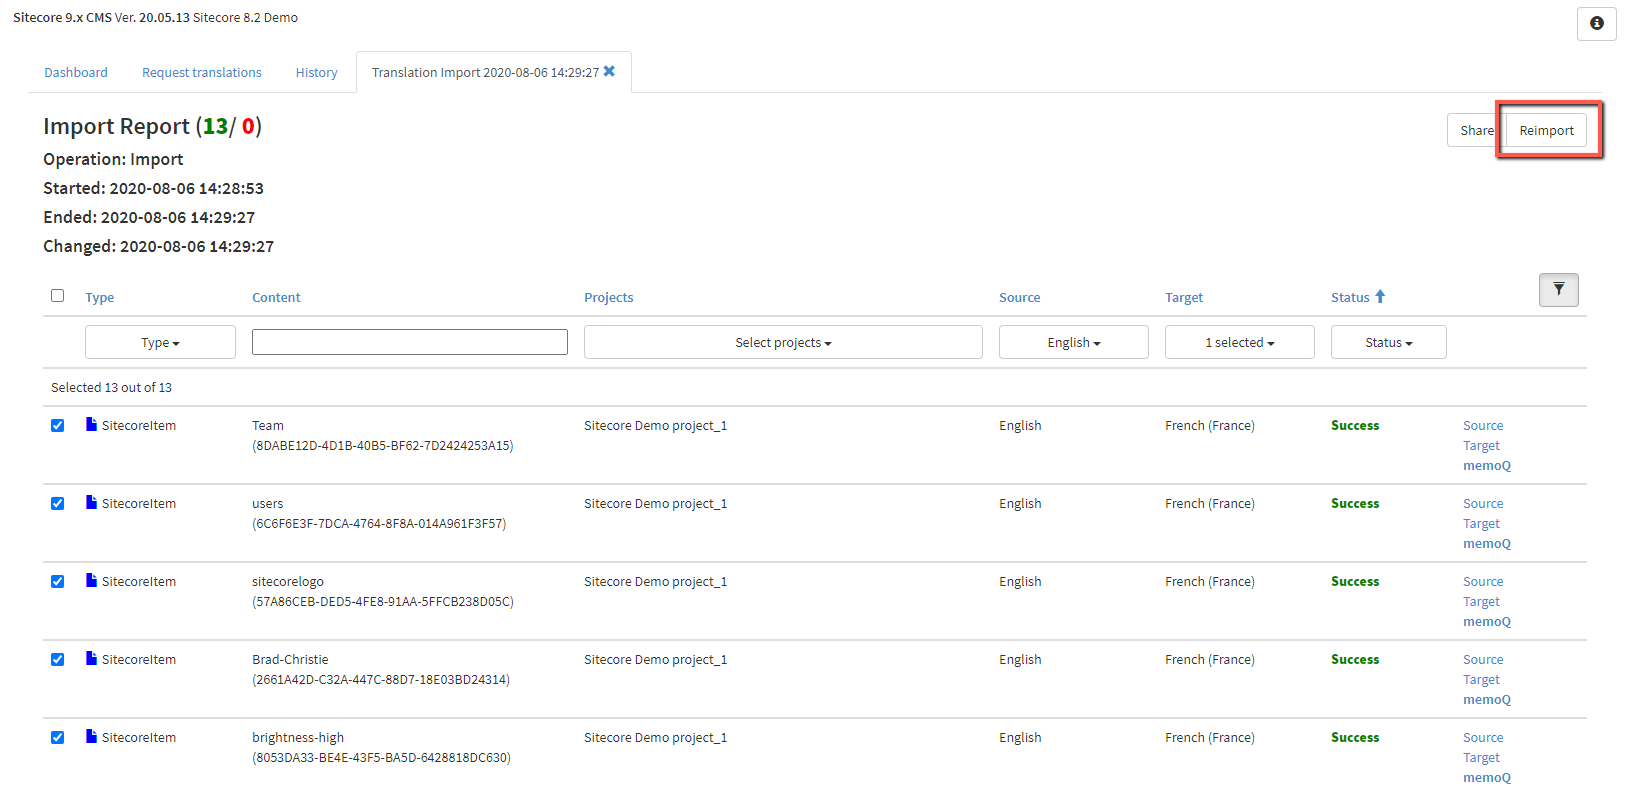
The report shows the result of the import and gives you the ability to run 'Re-import' where needed or re-import all content at once. However, if everything looks good, click 'Ok' button and that is it. NowReimport' all the items or only specific ones. You can use the filter to find those items which need to be reimported.
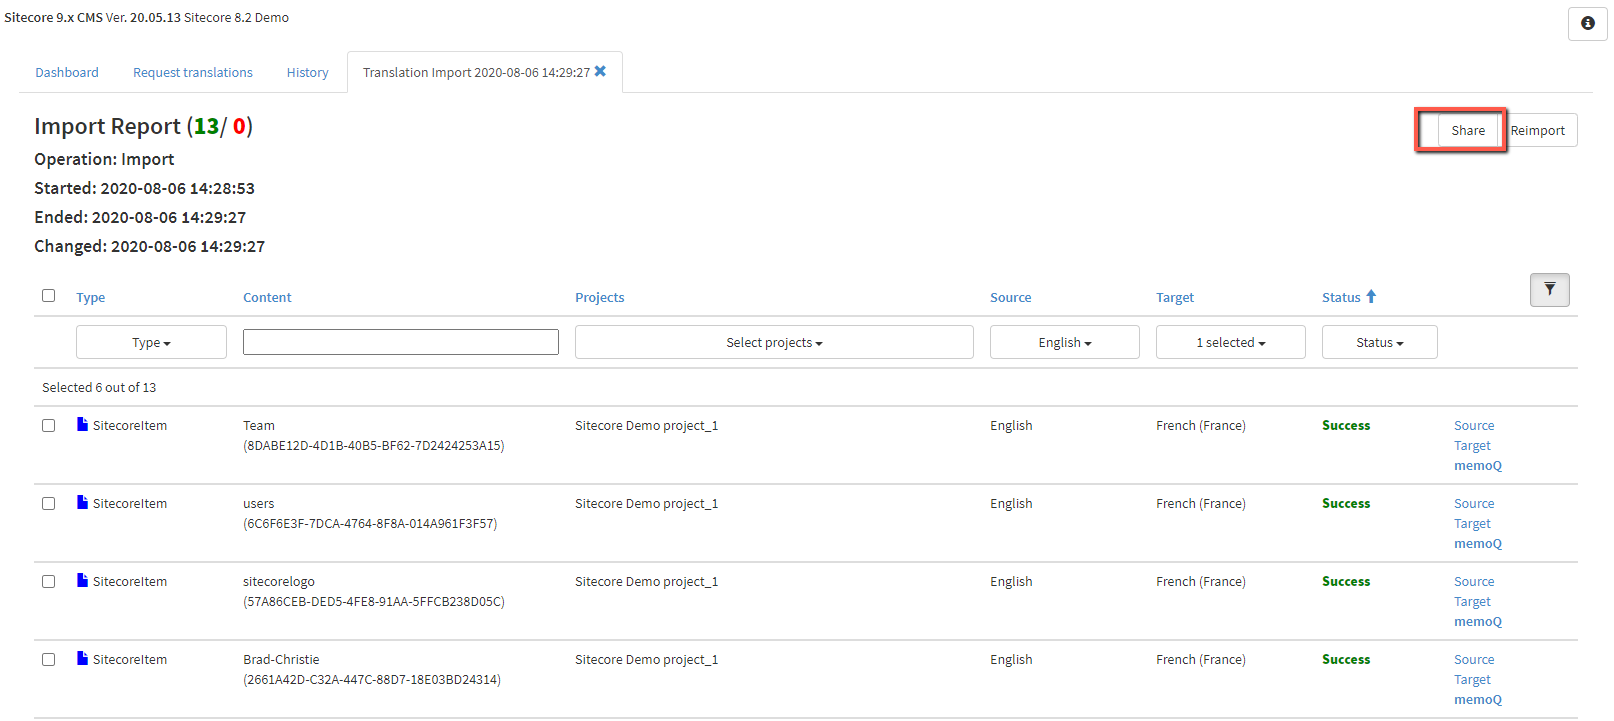
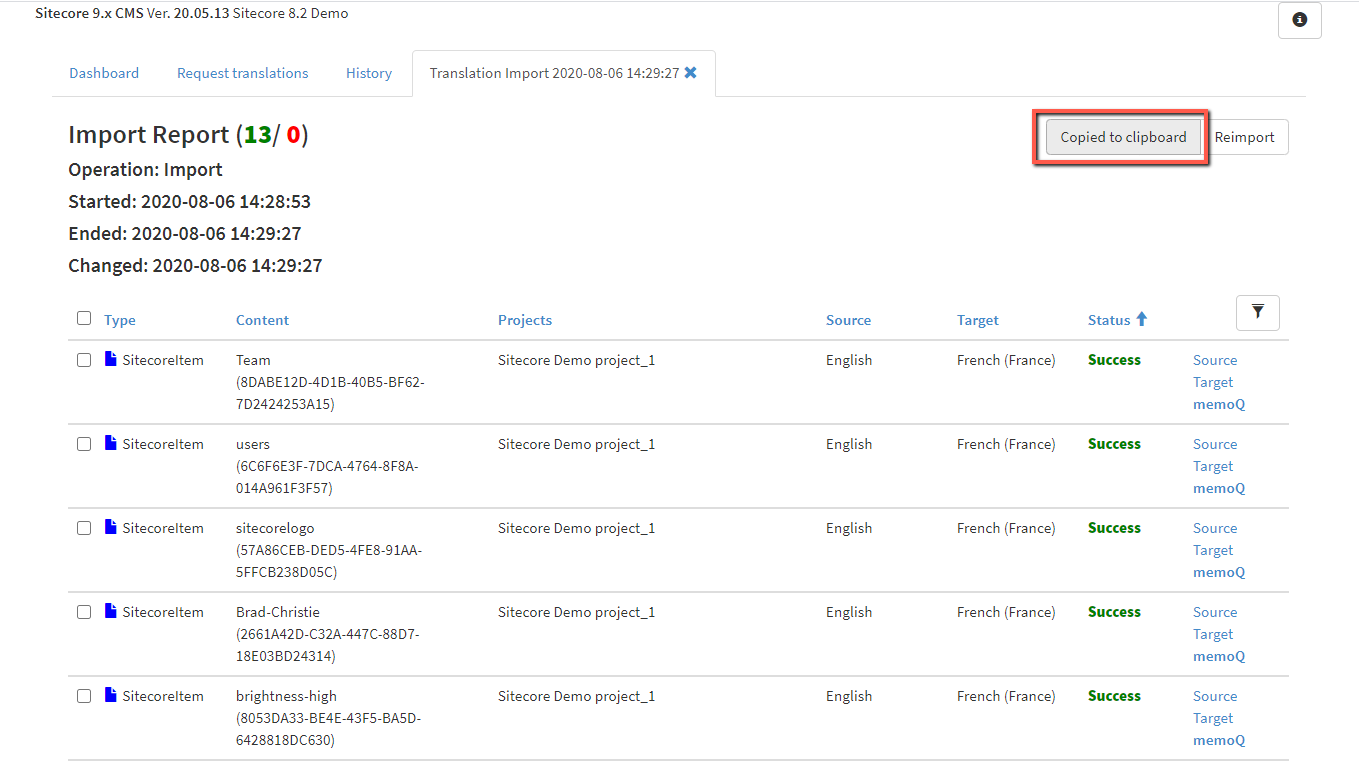
Sharing the report
If you'd like to share the report with the client or your team, you just need to click the 'Share' button. Depending on the browser limitations, the link will be either copied to the clipboard or opens in the new tab where you would need to copy it manually from the address bar.
5. Once the import process is over, you can see that the content weyou've imported is now "Delivered". obtains the status 'Delivered' in the chart in the 'Dashboard' tab.