Installation Prerequisites
iLangl supports the operating systems as listed in the table below.
Operating system | Supported editions |
| Windows 10 | 32-bit and 64-bit |
Windows 8.1 | 32-bit and 64-bit |
Windows 8 | 32-bit and 64-bit |
Windows 7 SP1 | 32-bit and 64-bit |
Windows Vista SP2 | 32-bit and 64-bit |
| Windows Server 2016 | 64-bit |
Windows Server 2012 R2 | 64-bit |
Windows Server 2012 (64-bit edition) | 64-bit |
Windows Server 2008 R2 SP1 | 64-bit |
Windows Server 2008 SP2 | 32-bit and 64-bit |
NET Framework | Version 4.5 |
Installation
Content Provider installation wizard simplifies the installation process. You can download the installation software either from iLangL website or have it sent to your email. To install the iLangl software follow the sequence of steps below:
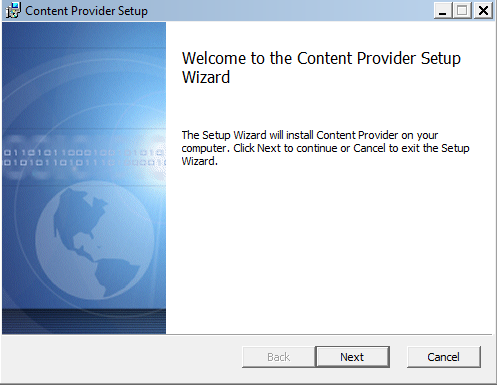
- To begin installation of the Content Provider double click the *.msi file. Once the installer begins the software application menu appears. Click on Next to continue.
.
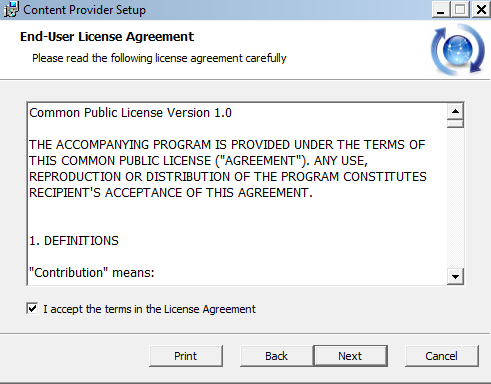
- Read the License Agreement and click on “I accept the terms in the license agreement” if you agree. Then click Next to continue.
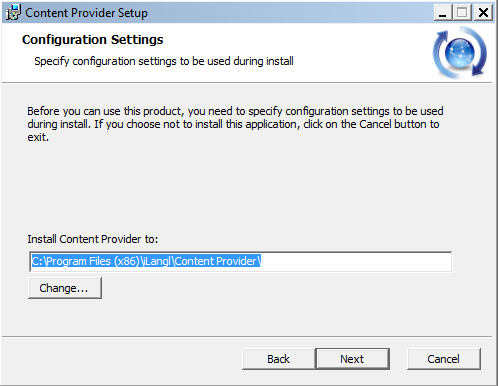
- Browse your computer to select the path where you want to install the software. Then click on Next to continue.
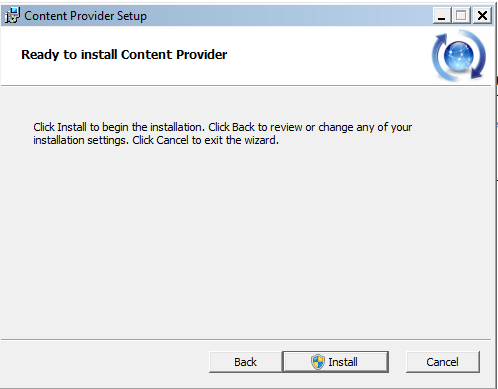
- Click Install to begin installation of the iLangl system software.
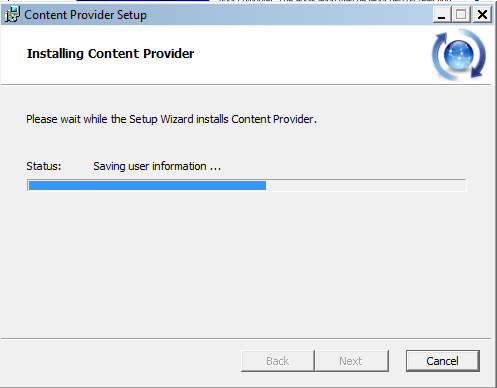
- The setup wizard will now start installing the content provider onto your system. You can view the status of the installation. Installation takes only a few minutes.
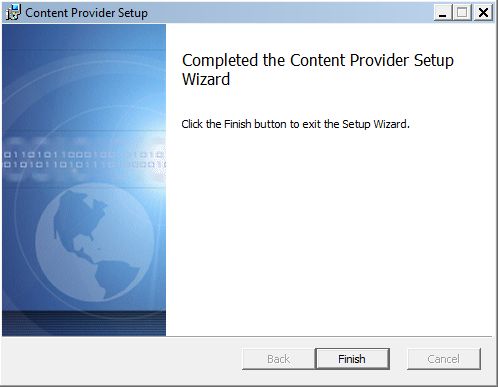
- The installation process is now complete. Click on Finish to close the application software window.
Configuration
This section describes how to configure the Content Provider in your system. After the installation is complete follow these steps to configure the Content Provider:
How to get service ID?
Service ID is identifier that helps to link your channels at iLangL Cloud with your current Content Provider installation. It’s generated automatically during installation and should not be changed ever. To get service ID you need to follow for the steps below:
- Open iLangl.ContentProvider.Service.exe.config, the XML configuration file from the installation folder. A screenshot screenshot with the default path, connection settings and place where to find the Service ID.
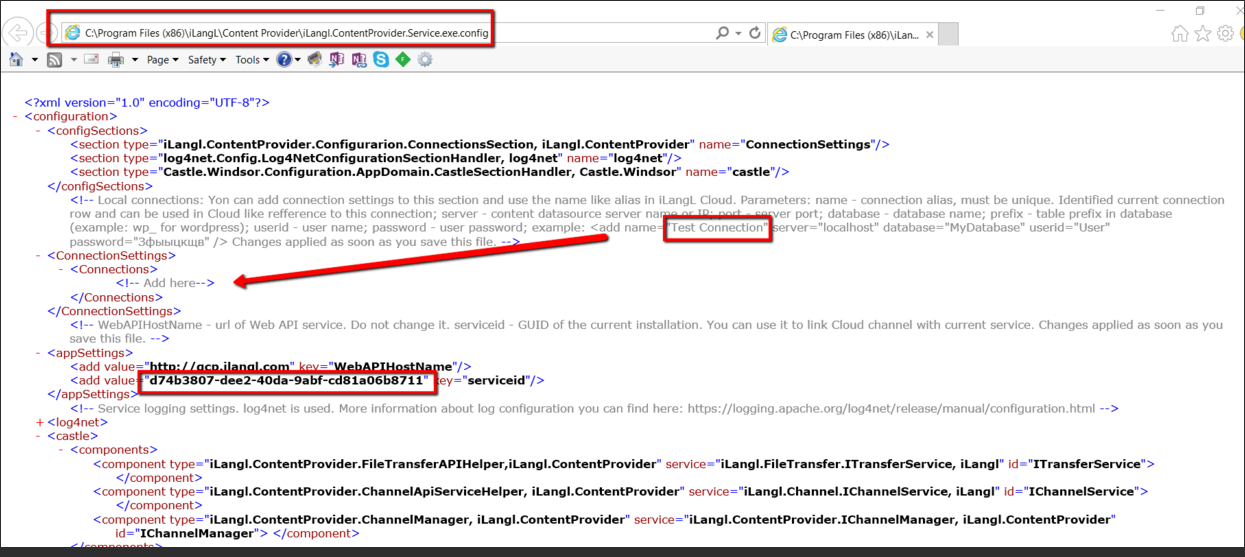
- Find the service ID <add value="[Service Guid]" key="serviceid"/>.
[Service Guid] - is a Service Id that you are looking for.
How to setup connection through connection alias?
You have an option to specify connections to all your local content datasources in Content Provider configuration file and define aliases for each of them. After that you can use these aliases instead of connection strings to setup connection from iLangL Cloud.
To setup alias you have have two options.
Specify local connection string in the cloud channel.
Or specify local connection string in ‘Content Provider’ configuration file with specific name and use this name in cloud channel.
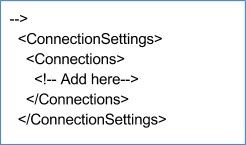
Config file contains comment instruction on how to specify connection as follows:
<!--
Local connections:
Yon can add connection settings to this section and use the name like alias in iLangL Cloud.
Parameters:
name - connection alias, must be unique. Identified current connection row and can be used in Cloud like refference to this connection;
server - content datasource server name or IP;
port - server port;
database - database name;
prefix - table prefix in database (example: wp_ for wordpress);
userid - user name;
password(not always required *) - user password;
* In case of using Integrated security for Microsoft SQL Server connection without password can be established under the current windows service account

Changes applied as soon as you save this file.
-->
For example type in:
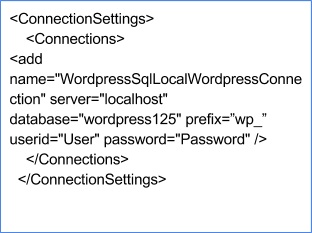
<add name="Test Connection" server="localhost" database="MyDatabase" userid="User" password="Password" />
Changes are applied as soon as you save this file as visible below:
Here is an example of MySql Connection:
When you modify data sources in the config file changes are applied automatically. There is no need to restart the service.
To check configuration you should create new channel and ping the content provider.
Troubleshooting
If ping to Content Provider does not pass successfully, you will get timeout error message.
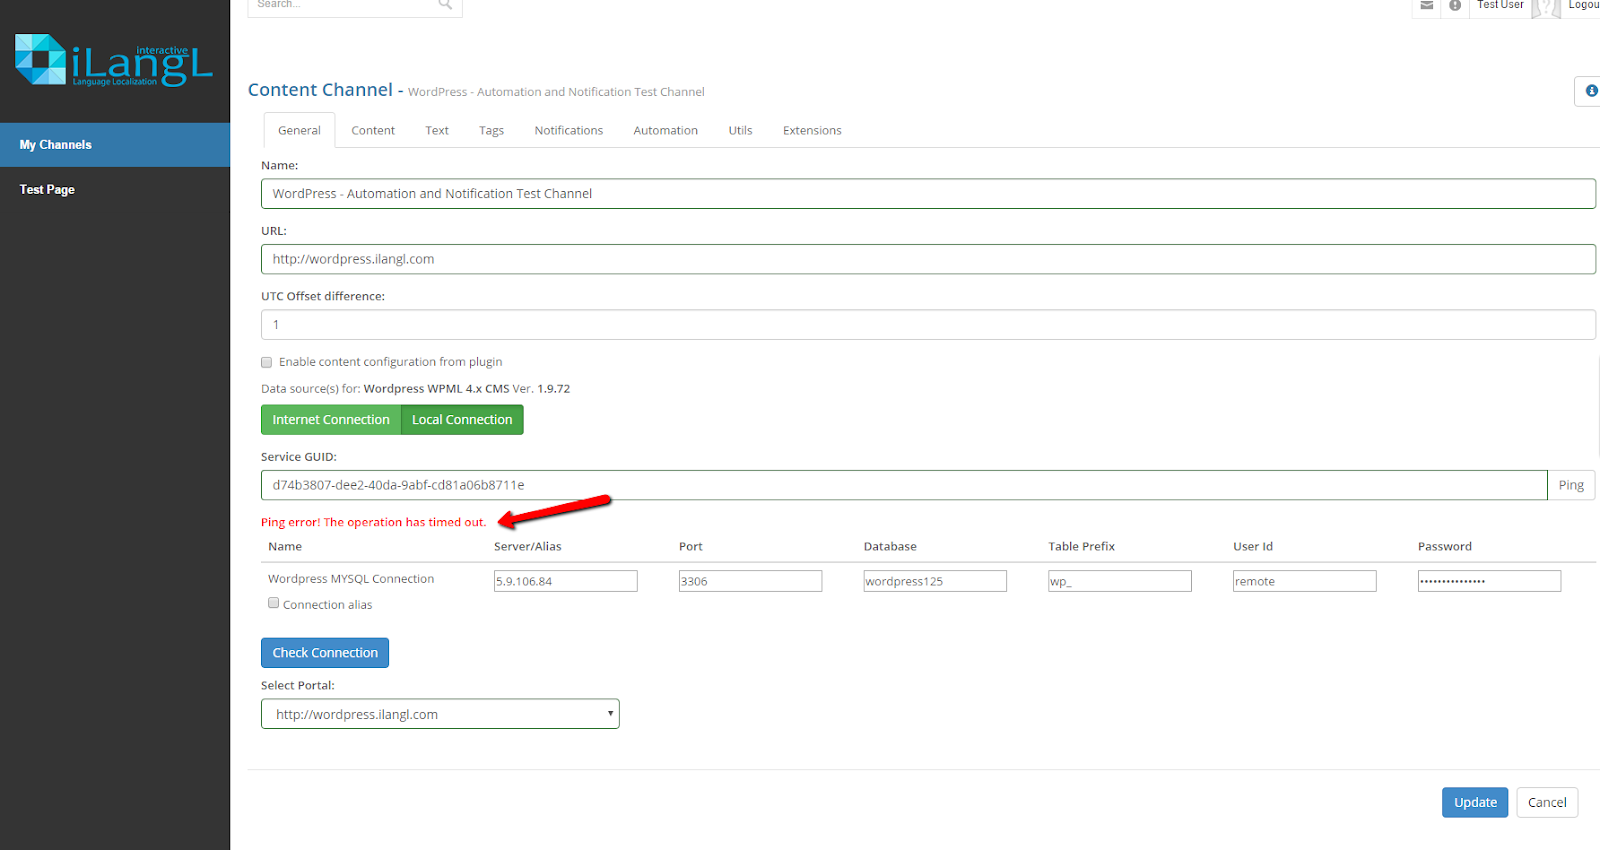
In this case check the following cases:
- Make sure the Service ID is correct.
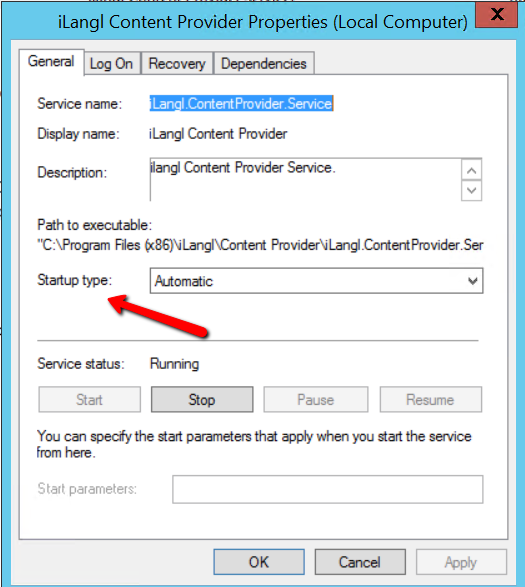
- Make your local service is up and running. Find the service with name “iLangl Content Provider” start it
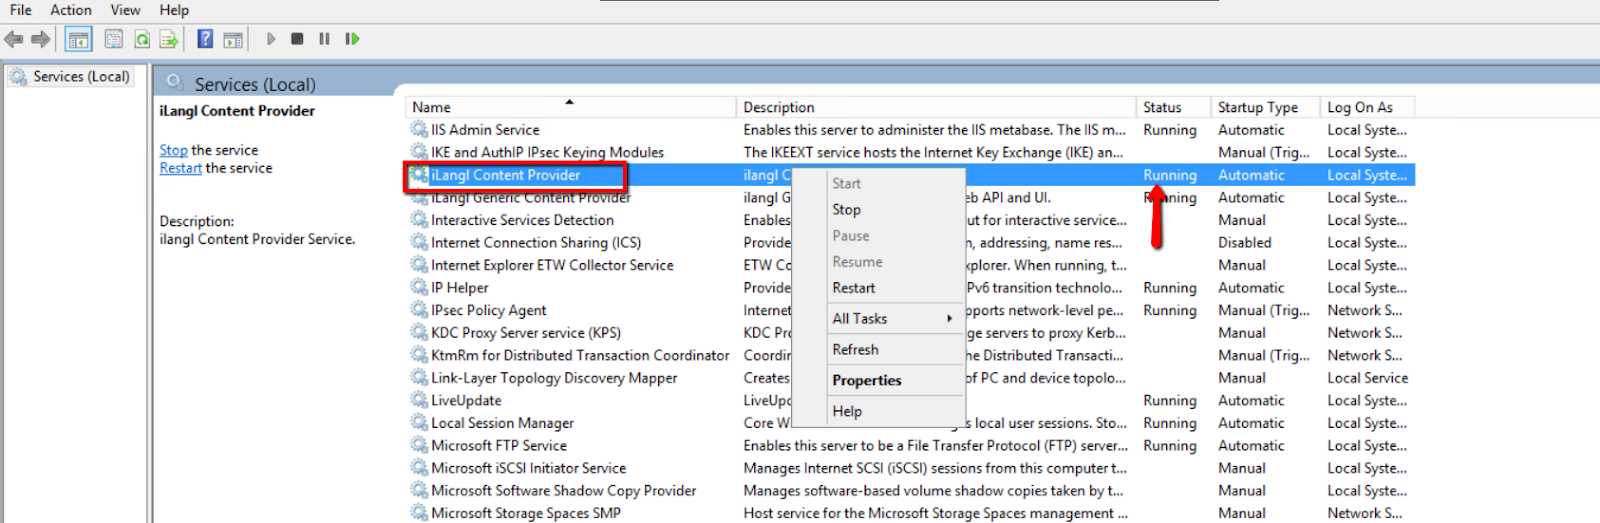
- Make sure that startup type is ‘Automatic’.
- Check if you can open https://cloud.ilangl.com from PC where you install service. If not modify your firewall settings to open outbound connection for https(443 port) for Content Provider.
If troubleshooting doesn't help, you are welcome to contact our support(support@ilangl.com) and we will be glad help you to resolve your trouble.