If you want to export content from your system and send it to memoQ, please follow the steps below:
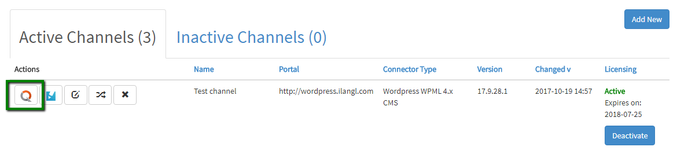
1) First things first: open the memoQ plugin. To do this, click the "memoQ Integration" icon next to your content channel (provided that memoQ integration is enabled and content channel is active).
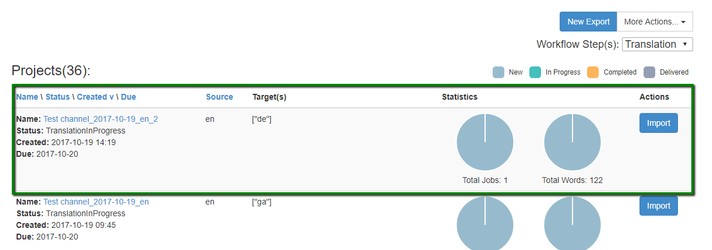
You will be forwarded to the project page, and the next thing to do is:
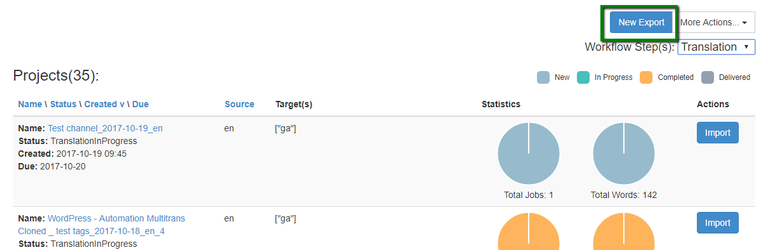
2) Click the 'New Export' button.
This will open a content selection form.
3) Select a source language and content you want to export. If you can't find a source language you need, please check your language mapping.
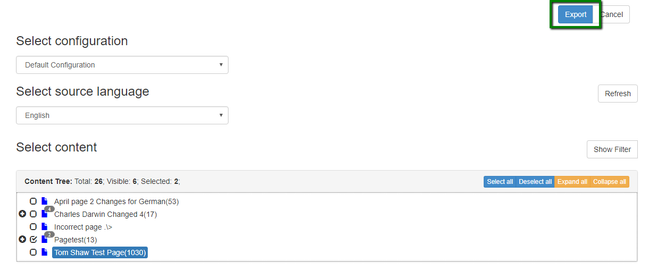
4) You can use filter to sort content and aggregate selection by multiple criteria like content state, word in the content, publisher, time of the last change. This helps to export various content in one go. Just select 'Show filter' button, set the selection criteria and click 'Apply filter'.
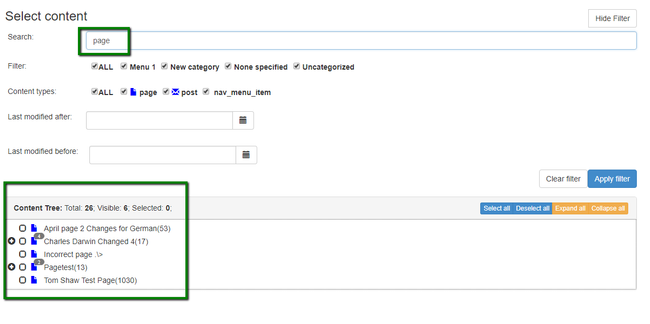
5) Click 'Export'.
This will navigate you to the next form, where you need to indicate the project settings and select the target languages.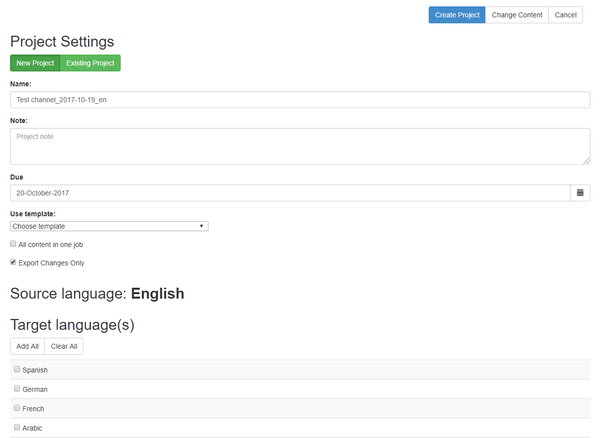
Project settings to specify:
- Name - a name of a project to be created in memoQ.
- Note - project note (etc. instructions for a linguist, any additional info, etc).
- Due - project's deadline.
- Use template - here you can choose a memoQ project template if needed.
- All content in one job - if this setting is enabled, all the content you selected will be placed as a single memoQ job. Otherwise, each content element will be sent as a separate job. Enabling this setting usually makes sense when dealing with a large amount of small content elements.
- Export changes only - if this setting is enabled, our system will identify any content updates since the last export. If there are no changes, content won’t be exported. Otherwise, only changed content properties will be exported for translation.
Selection of target language/-s:
This section allows you to select the target languages for your translation. If you can't find a target language you need, check your language mapping or the selected template in case it limits the list of available target languages.
If you want to change the content selection, you can take a step back via the 'Change Content' button. If nothing requires correction, move on to the next step.
6) Click 'Create Project'.
This will take you to the 'Export Summary' form with an overview of the project and content to be exported. If you want to change something, you can take a step back by clicking 'Change'. If everything looks good: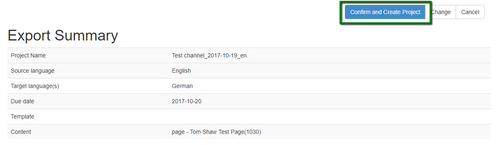
7) Click 'Confirm and Create Project'.
Once you confirm, the selected content will be exported from your system and sent to TMS as a project.
8) Wait until our system exports the content to memoQ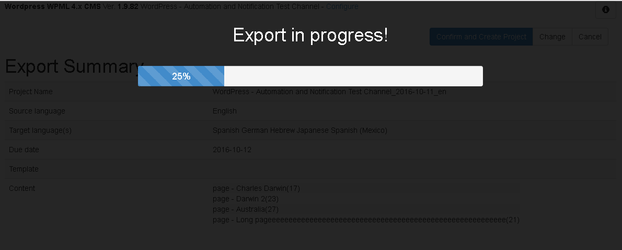
Please note that export might take time depending on the content size.
9) In the end, you'll see the export report with all the project details.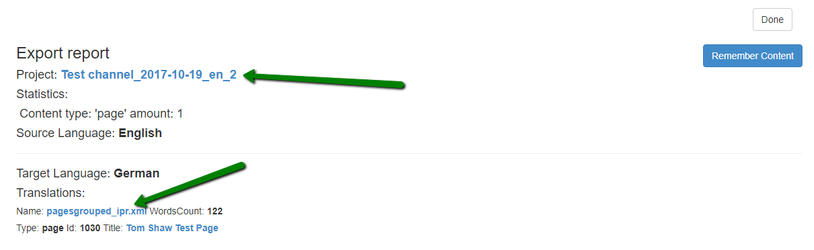
You can click on project or job name links to open them in memoQ Web (provided that it’s properly configured).
If change tracking is enabled, you will see 'Remember content' button. Click it if you want to save exported content to your content memory. This will ensure you won't order same content twice.
Once you press 'Done', you will see a newly created project in the projects page.