How to Automate Content Flow
- s.anush (Unlicensed)
- Support Ilangl
- Natalia Sandovska (Unlicensed)
- Sergey Yuryev(gmail)
iLangl integration solutions turn localization into a streamlined process. Among other features, you can automate import/export of new or modified CMS content. Automation tool offers the following functionality:
- Automate export to translation tool.
- Automate import from translation tool.
- Set up the date and time that will mark the start of content tracking.
- Specify the frequency (in hours) of the automation process.
- Specify automatic export settings.
To set up automatic change tracking, go to 'Automation and Notifications' tab:
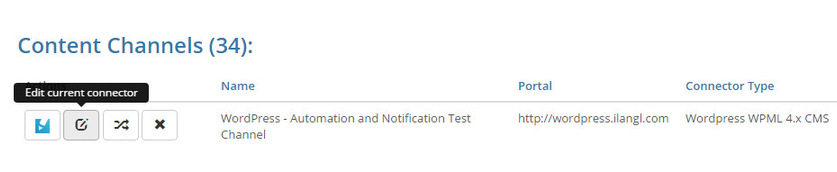
- Go to 'My Channels'.
- Click 'Edit current connector' near the 'Automation and Notifications' Page.
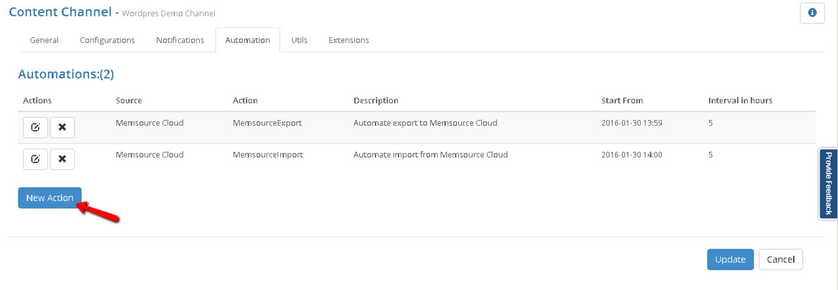
3. Now, click 'Automation' to access the automation system.
4. Click 'New Action' button.
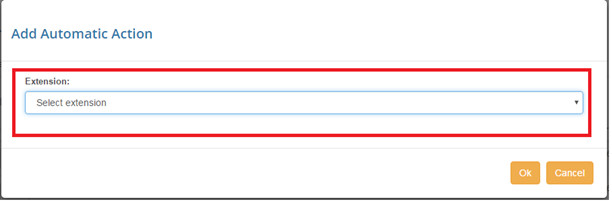
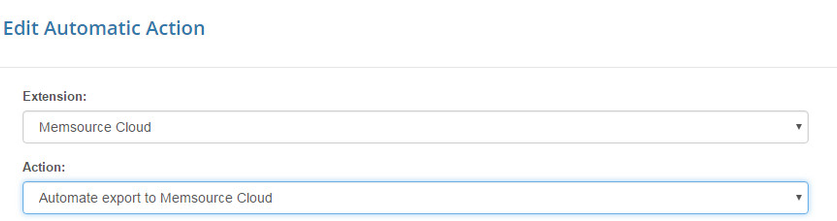
5. Use the drop-down menu to select the extension in the 'Add Automatic Action' pop-up window.
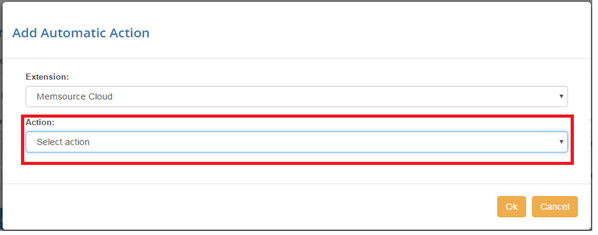
6. In the 'Action' form choose the type of action: export or import.
Specifying Rules for Automatic Export
Change tracking is automated by iLangl. To view the time of last content change, refer to Utils.
To set automation start date and time manually or to automate content export, please do the following:
- Choose respective extension from the drop-down list.
- In 'Action' menu, select 'Automate export to translation tool'.
3. To set the start date and time of automatic tracking:
- Set the start date in the yyyy-mm-dd format. You can enter it manually or use the calendar.
- Set the time scrolling through hours and minutes. You can also enter the time manually.
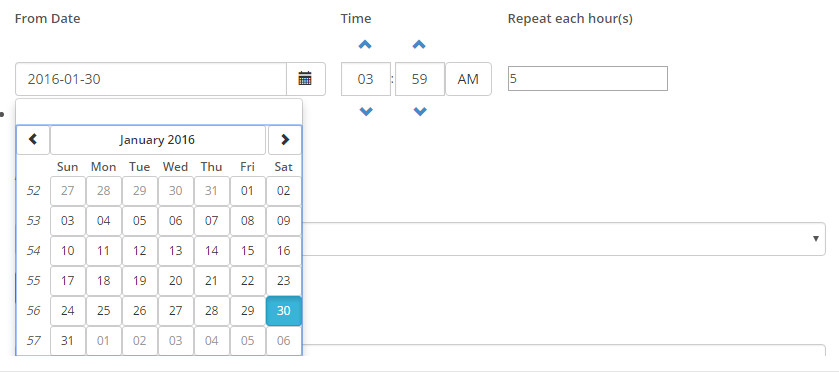
4. Select the number of hours defining the frequency of content check.
Editing Automatic Export Settings
With this feature, you can select a particular language pair you'd like to track.
- To set a language iLangl should track, choose the language from the 'Source language' drop-down menu. Next, choose the export option that meets your needs:
a. 'New Project' - always export content as a new project. Choose a CMS template from the 'Project Template' drop-down menu.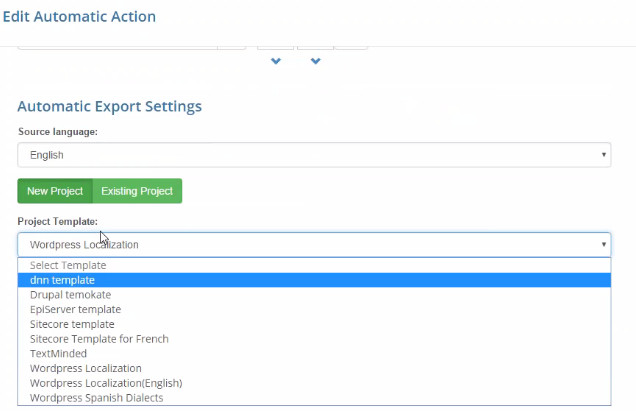
b. 'Existing Project' - always export content to an already existing project. Choose an existing project from the 'Project' drop-down menu.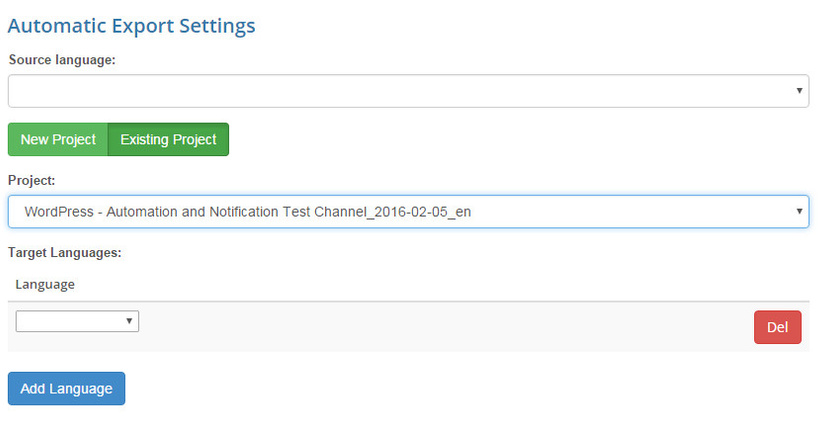
- Use 'Target Languages' drop-down menu to choose the target language.
Note: More than one target language can be added. Click 'Add Language' button to add more target languages. - Click 'OK' to save.
Specifying Rules for Automatic Import
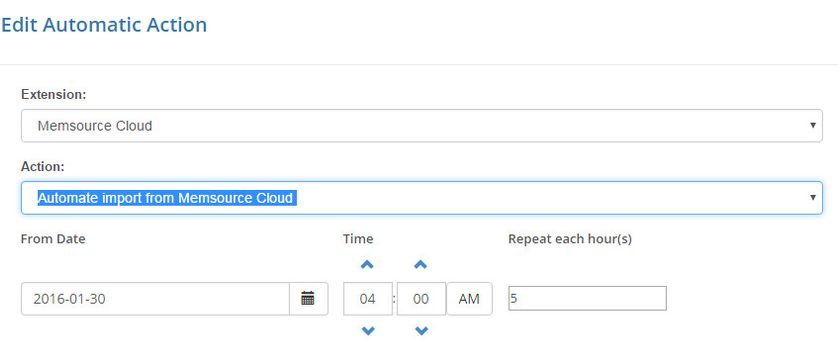
To set automation start date and time manually or to automate content import, please do the following::
- Choose respective extension from the drop-down list.
- In 'Action' menu, select 'Automate import to translation tool'.
- To set the start date and time of automatic tracking:
- Set the start date in the yyyy-mm-dd format. You can enter it manually or use the calendar.
- Set the time scrolling through hours and minutes. You can also enter the time manually.
Editing Automatic Import Settings
The desired workflow can be defined under the 'Automatic Import Settings'.
- 'Workflow step' - choose a respective workflow step (e.g. translation, revision or client review) from the drop-down menu.
- 'Job Status' - define a job status that will trigger the import (e.g. assigned, completed, completed by linguist, declined by linguist, emailed or new).
- If you want the imported content to be published automatically upon delivery, please check 'Import and Publish' box.
- Use 'Target Languages' drop-down menu to choose the target language.
Note: More than one target language can be added. Click 'Add Language' button to add more target languages. - Click 'OK' to save.

Related articles